Links contained in this post and elsewhere on my website may include affiliate links. When you make a purchase through these links, I earn a commission at no additional cost to you. I only link to products and services that I love - and that I think you will love, too!
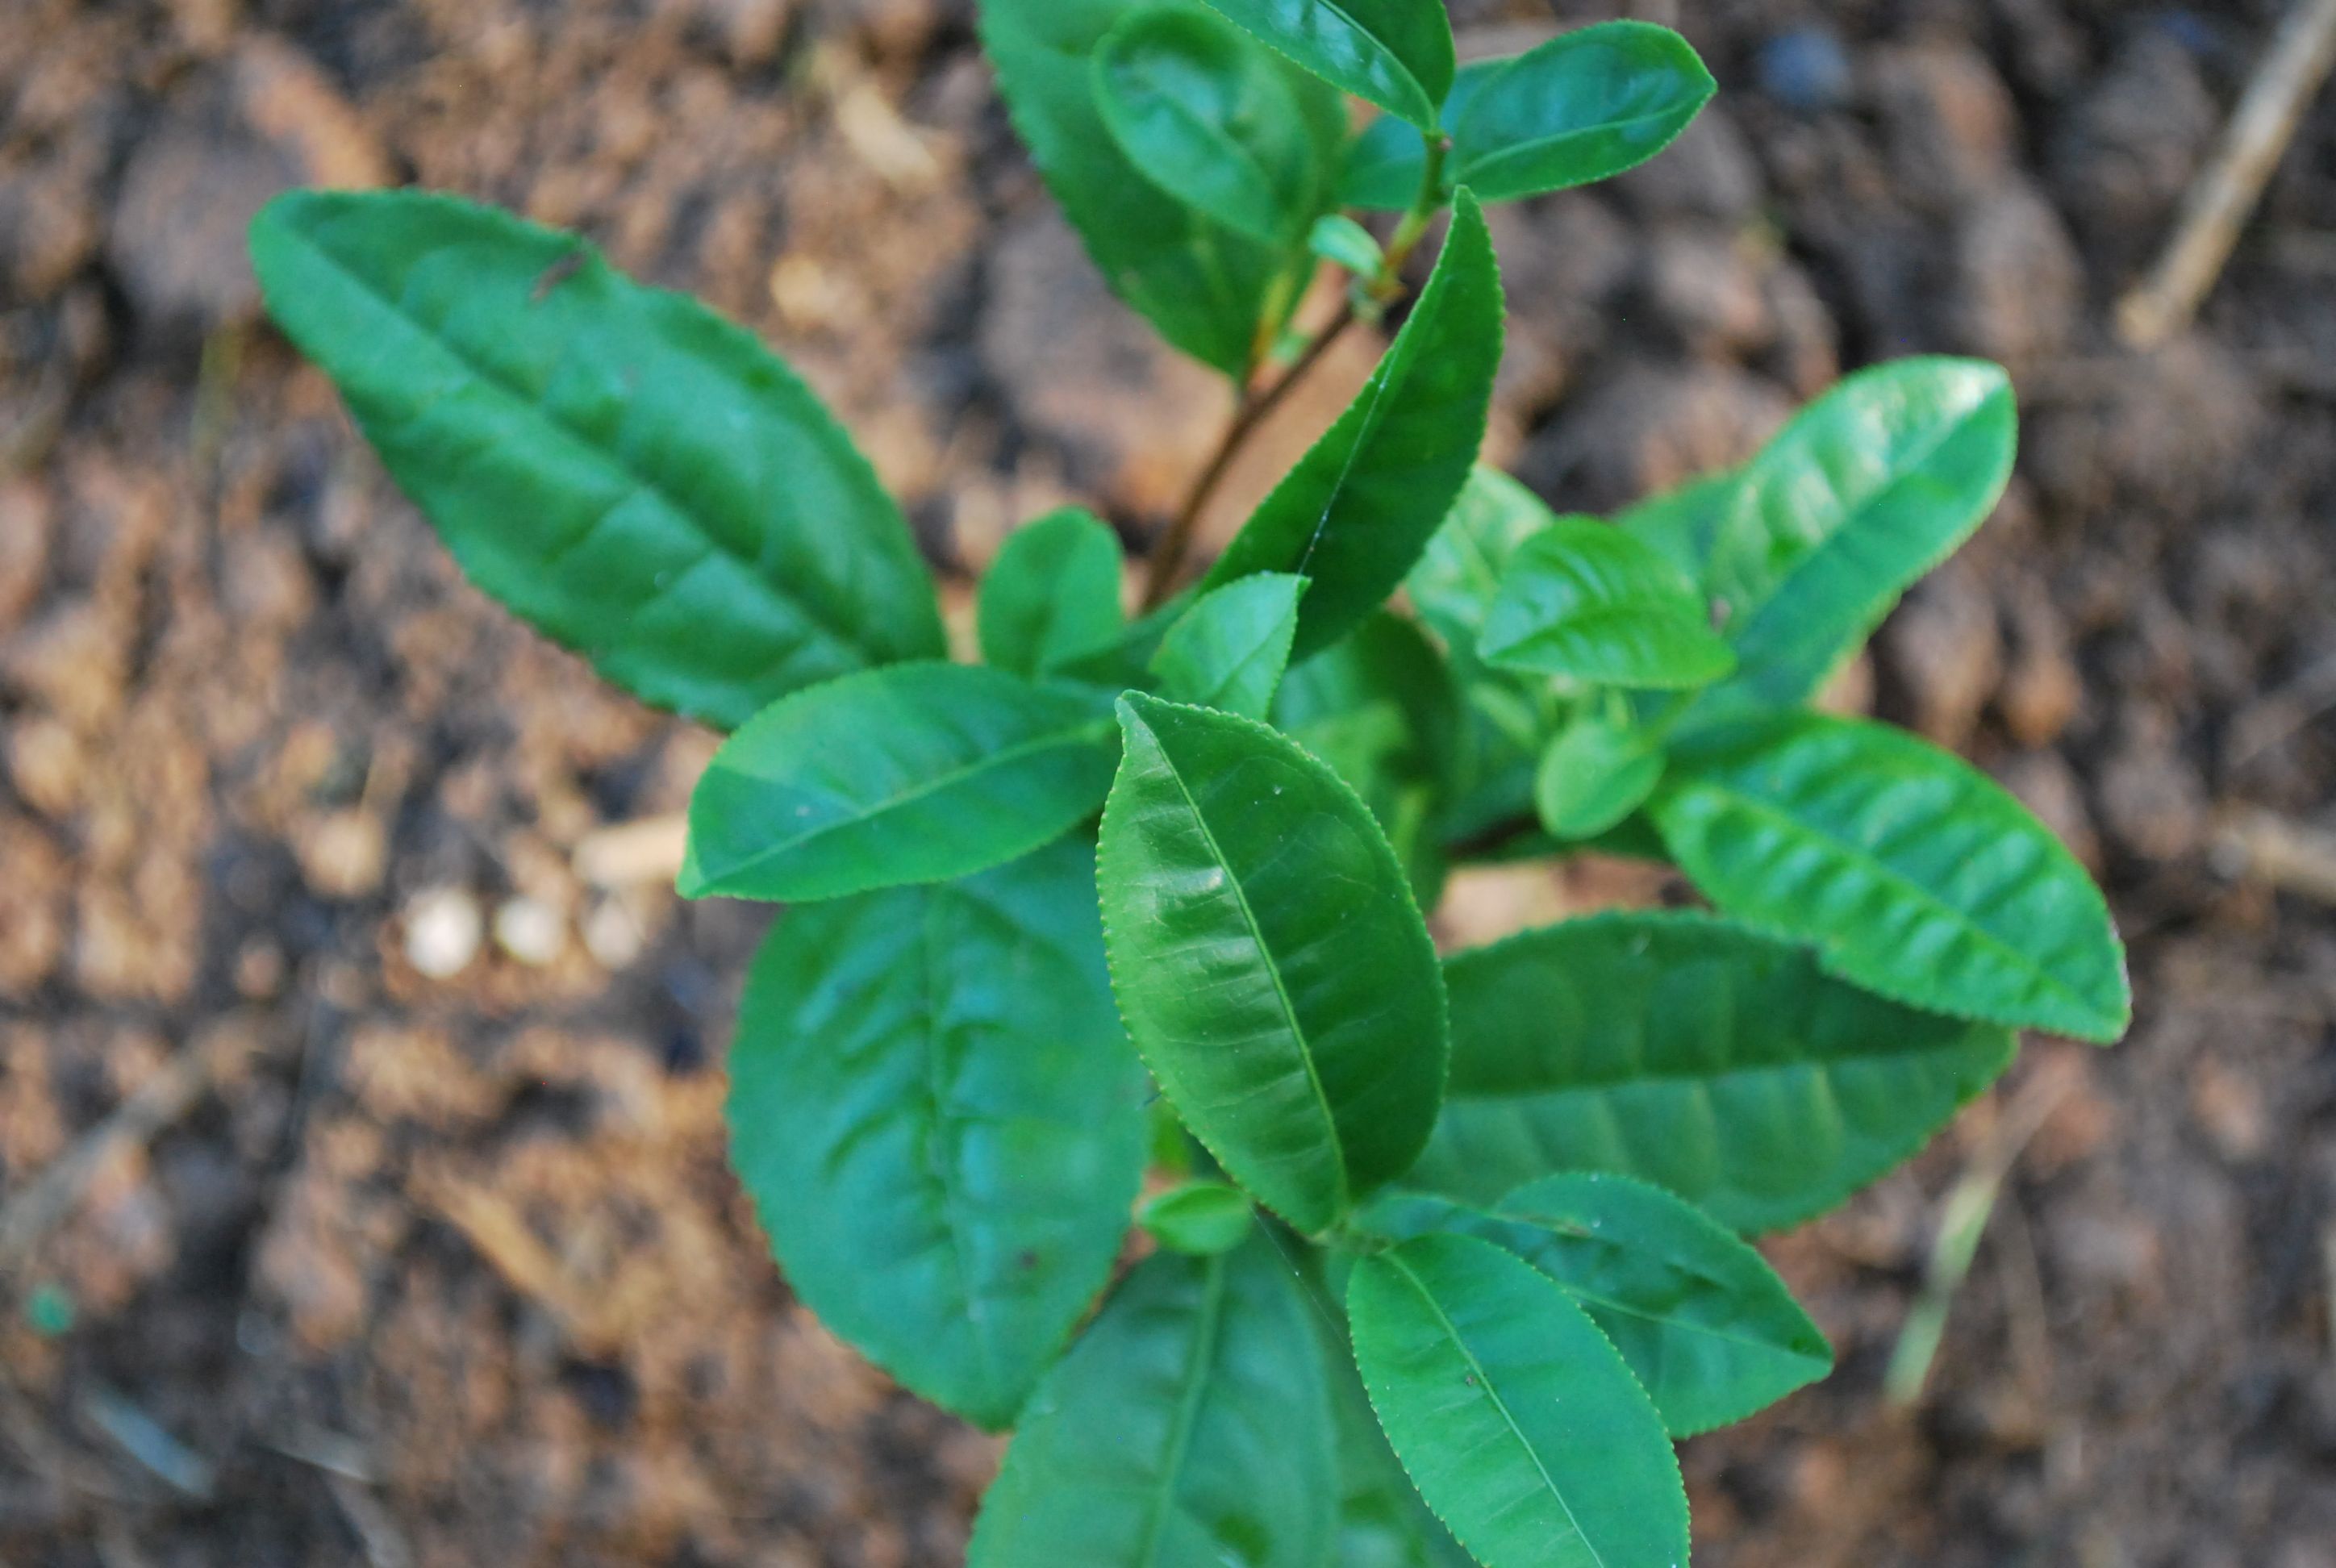
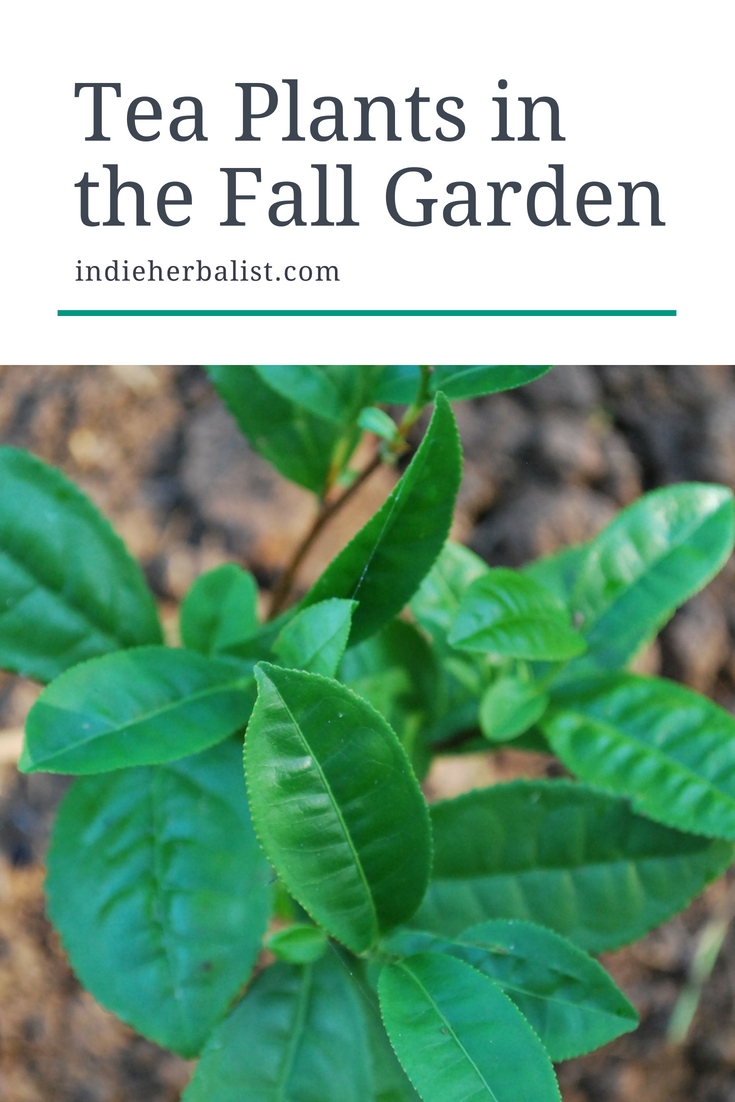
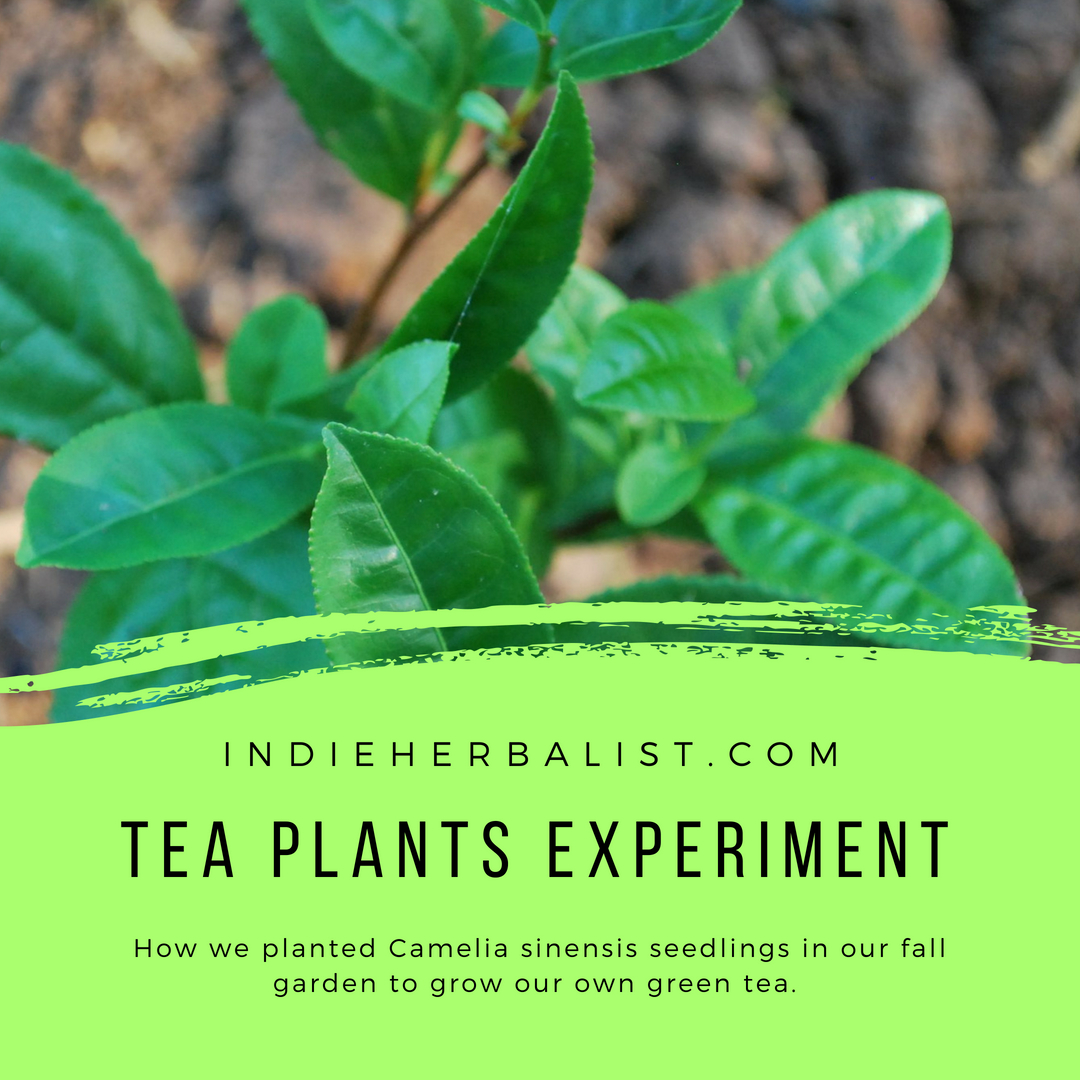
I ordered seven tea (Camelia sinensis) plants this past spring. It’s part of an experiment here at June Apple to see if white tea might be a viable crop for us. I thought it would be fun to share this particular work in progress because it illustrates an interesting aspect of farming and homesteading: you may not always know exactly what you’re doing, but as long as you have a plan that’s ok!
Our Tea Experiment
Tea is still an experimental crop here in the US, so it was hard to find reliable information on cultivating Camelia sinensis. Missouri Botanical Garden does have a little to say about them and I generally trust their info. It wasn’t hard to find the plants, though. Several large seed companies carry Camelia sinensis seeds and seedlings, so I settled on a few plants and placed the order. My reasoning behind this particular project is that because ornamental camelias do well here, there’s at least a chance that Camelia sinensis will, too.
The plan was to order our tea plants and have them in the ground the week they arrived. But. . . We borrow a garden digger from Ryan’s family when we need to expand our rows. Between the gloriously rainy weather we’ve had this year, our work schedules, and his family’s schedule we haven’t been able to till until this weekend. My poor little tea plants sat patiently in their pots.
Well, more or less patiently. One died, and I’ve been fighting to save two of them because of the stress of being root bound coupled with ant infestations/root rot.
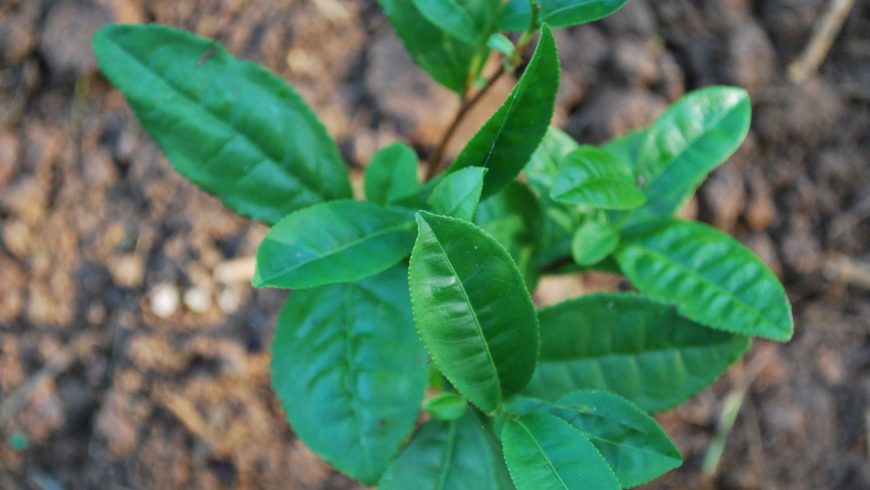
However, their hardiness prevailed. I was actually really impressed with their ability to make it through the summer heat in the tiny little nursery pots. We watered them daily and kept them in dappled shade and they were perfectly happy. They even gained a few inches of healthy growth and filled out a little.
Here’s a peek at our process.
Choose a Location
I couldn’t find much information on how to grow tea plants and what I did find often seemed to contradict itself, so I’m operating under the assumption that they will behave somewhat like their ornamental cousins. Camelias will usually thrive in zones 7-10, so we think we have at least a chance with tea plants here (we’re in zone 7). We planted on the north side of the house in an area that gets morning sun and afternoon shade- usually a perfect site for camelias. Give them plenty of room – they can grow 10 feet tall or more. We plan to keep ours trimmed to around 6 feet.
Prepare the Soil
Camelias in general do just fine in our acidic soil, so I didn’t do anything special for my tea plants. They like good drainage, so make sure your site doesn’t stay boggy. Don’t fertilize your tea plants in the fall. They will need to go dormant soon, so feeding them is counterproductive. Encouraging new growth with fertilizer this late in the season could make the plants more susceptible to frost damage.
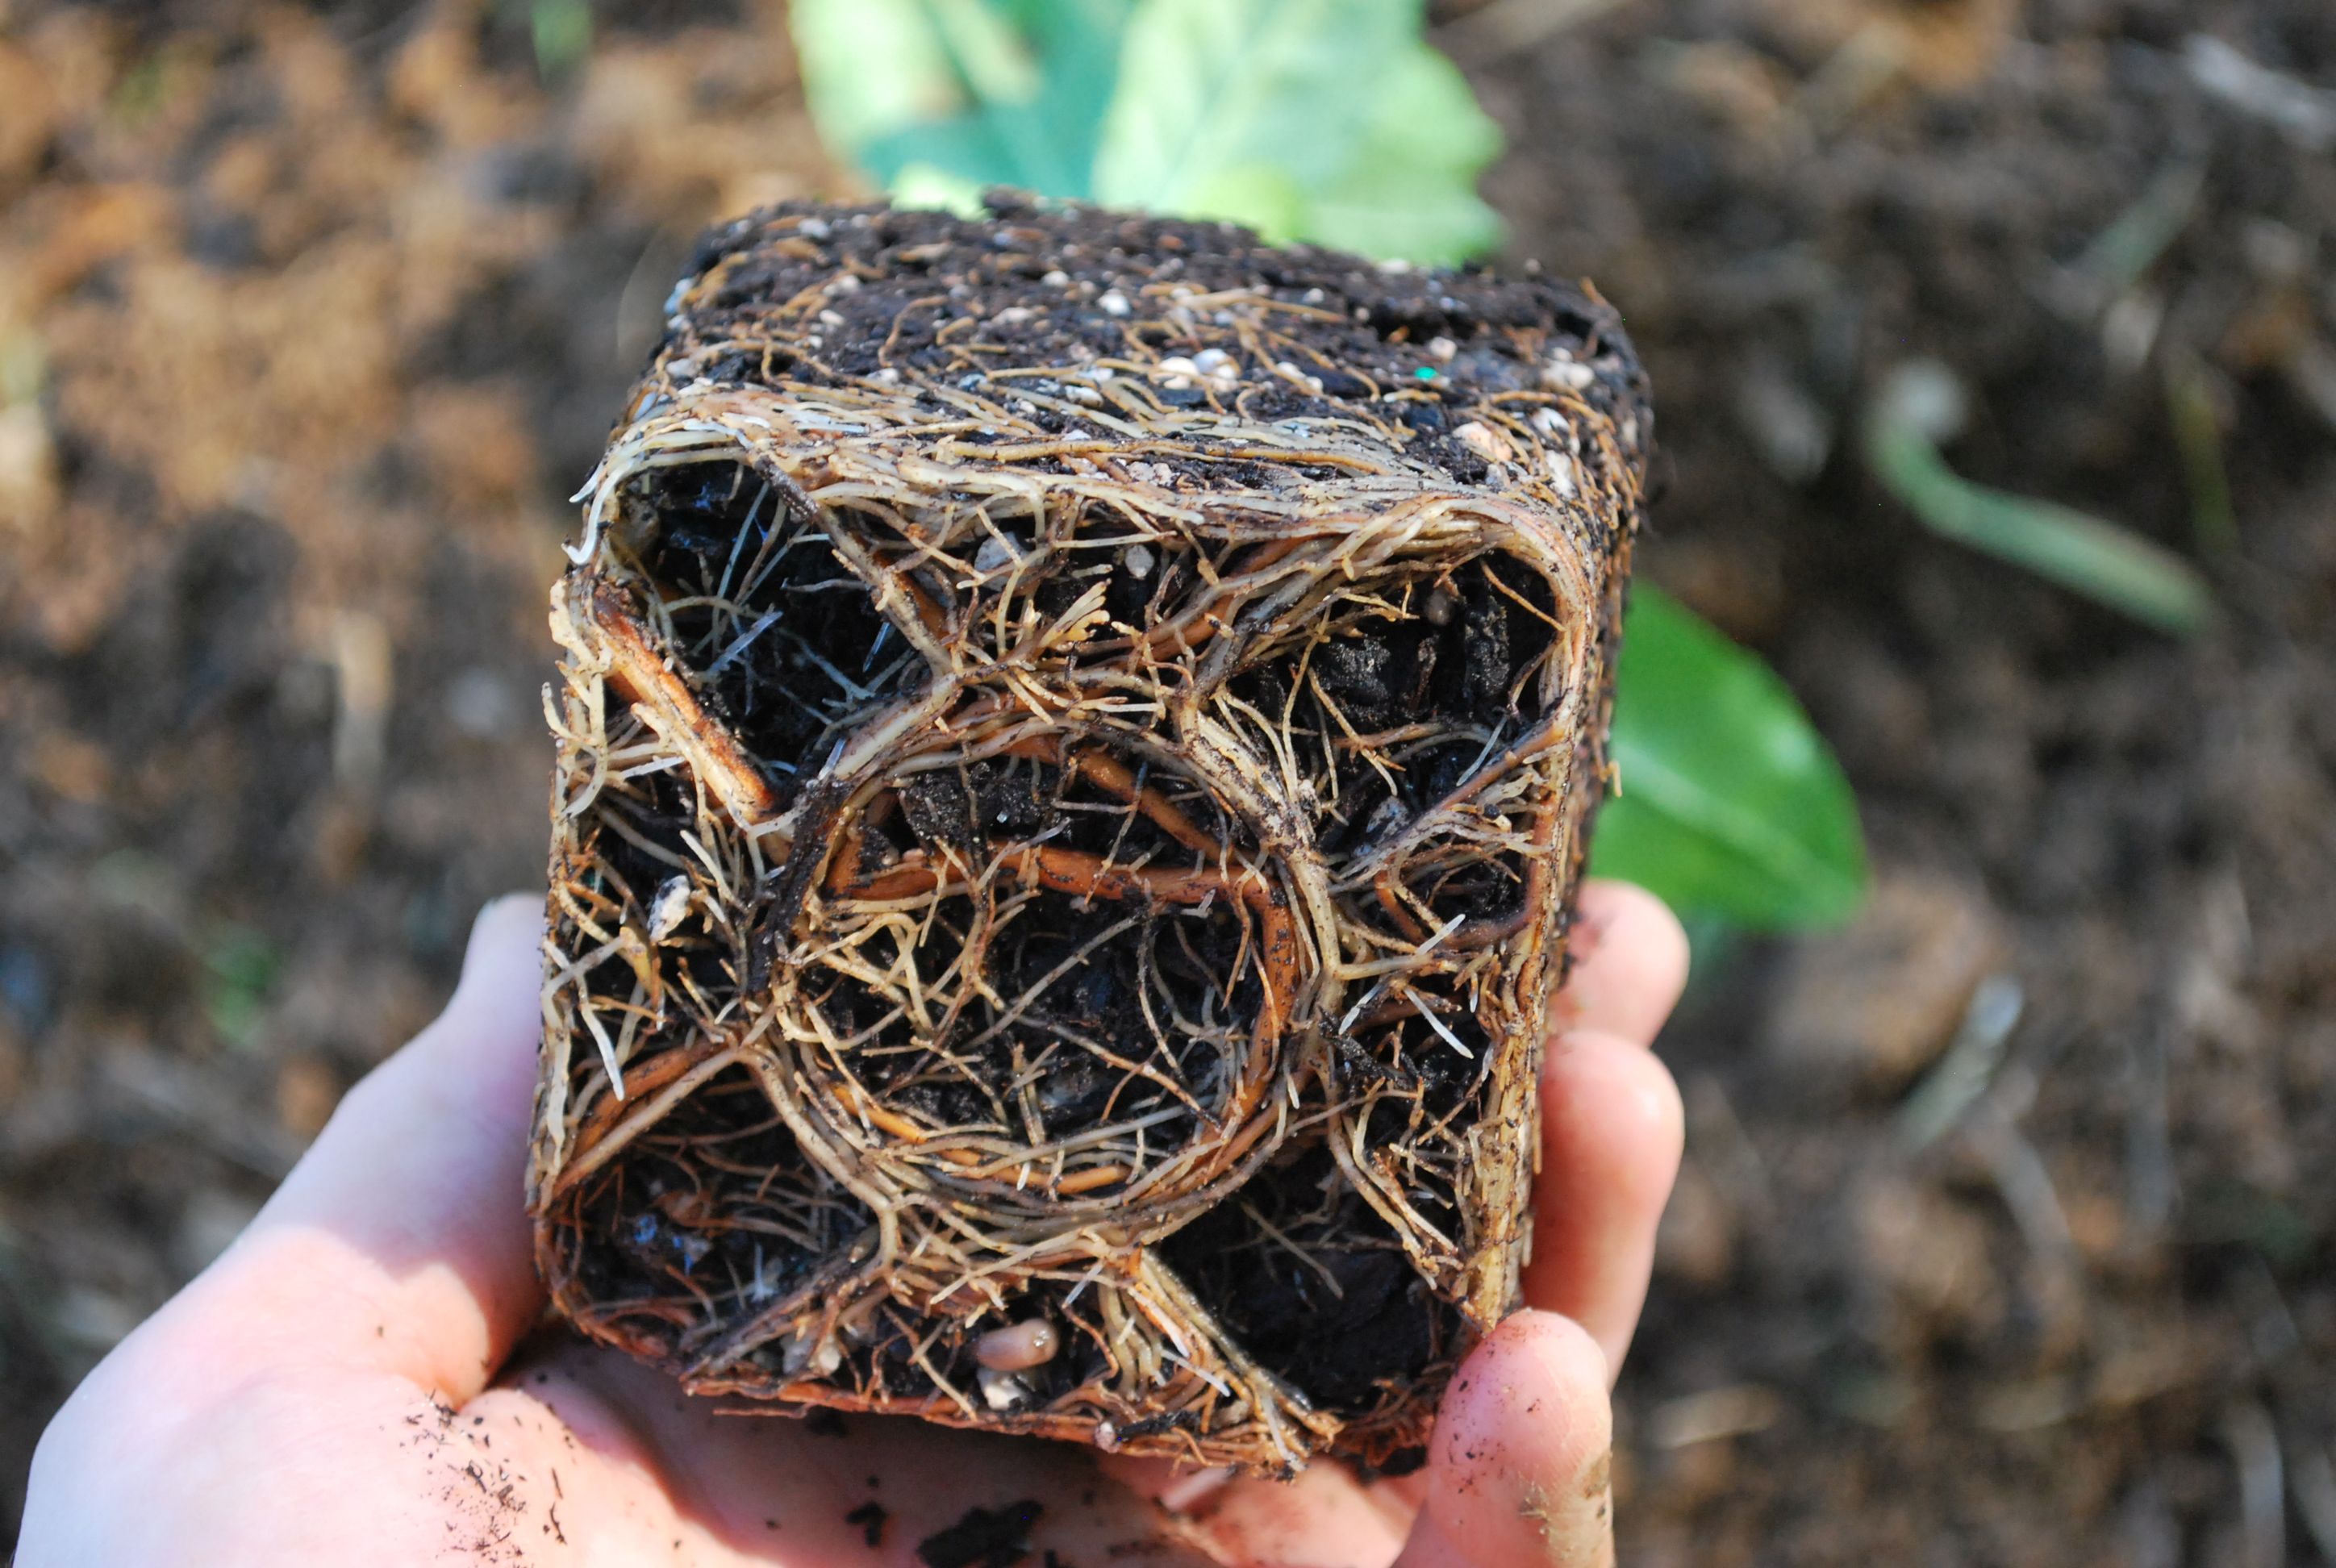
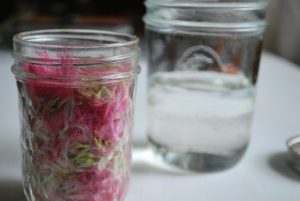
Examine the Roots
Gently remove your tea plant from its pot and check to see if it has become root bound. This is a condition where the roots continue to grow in length, but have nowhere to go. They end up as a tangled mess that coils around and around against the inside of the pot.
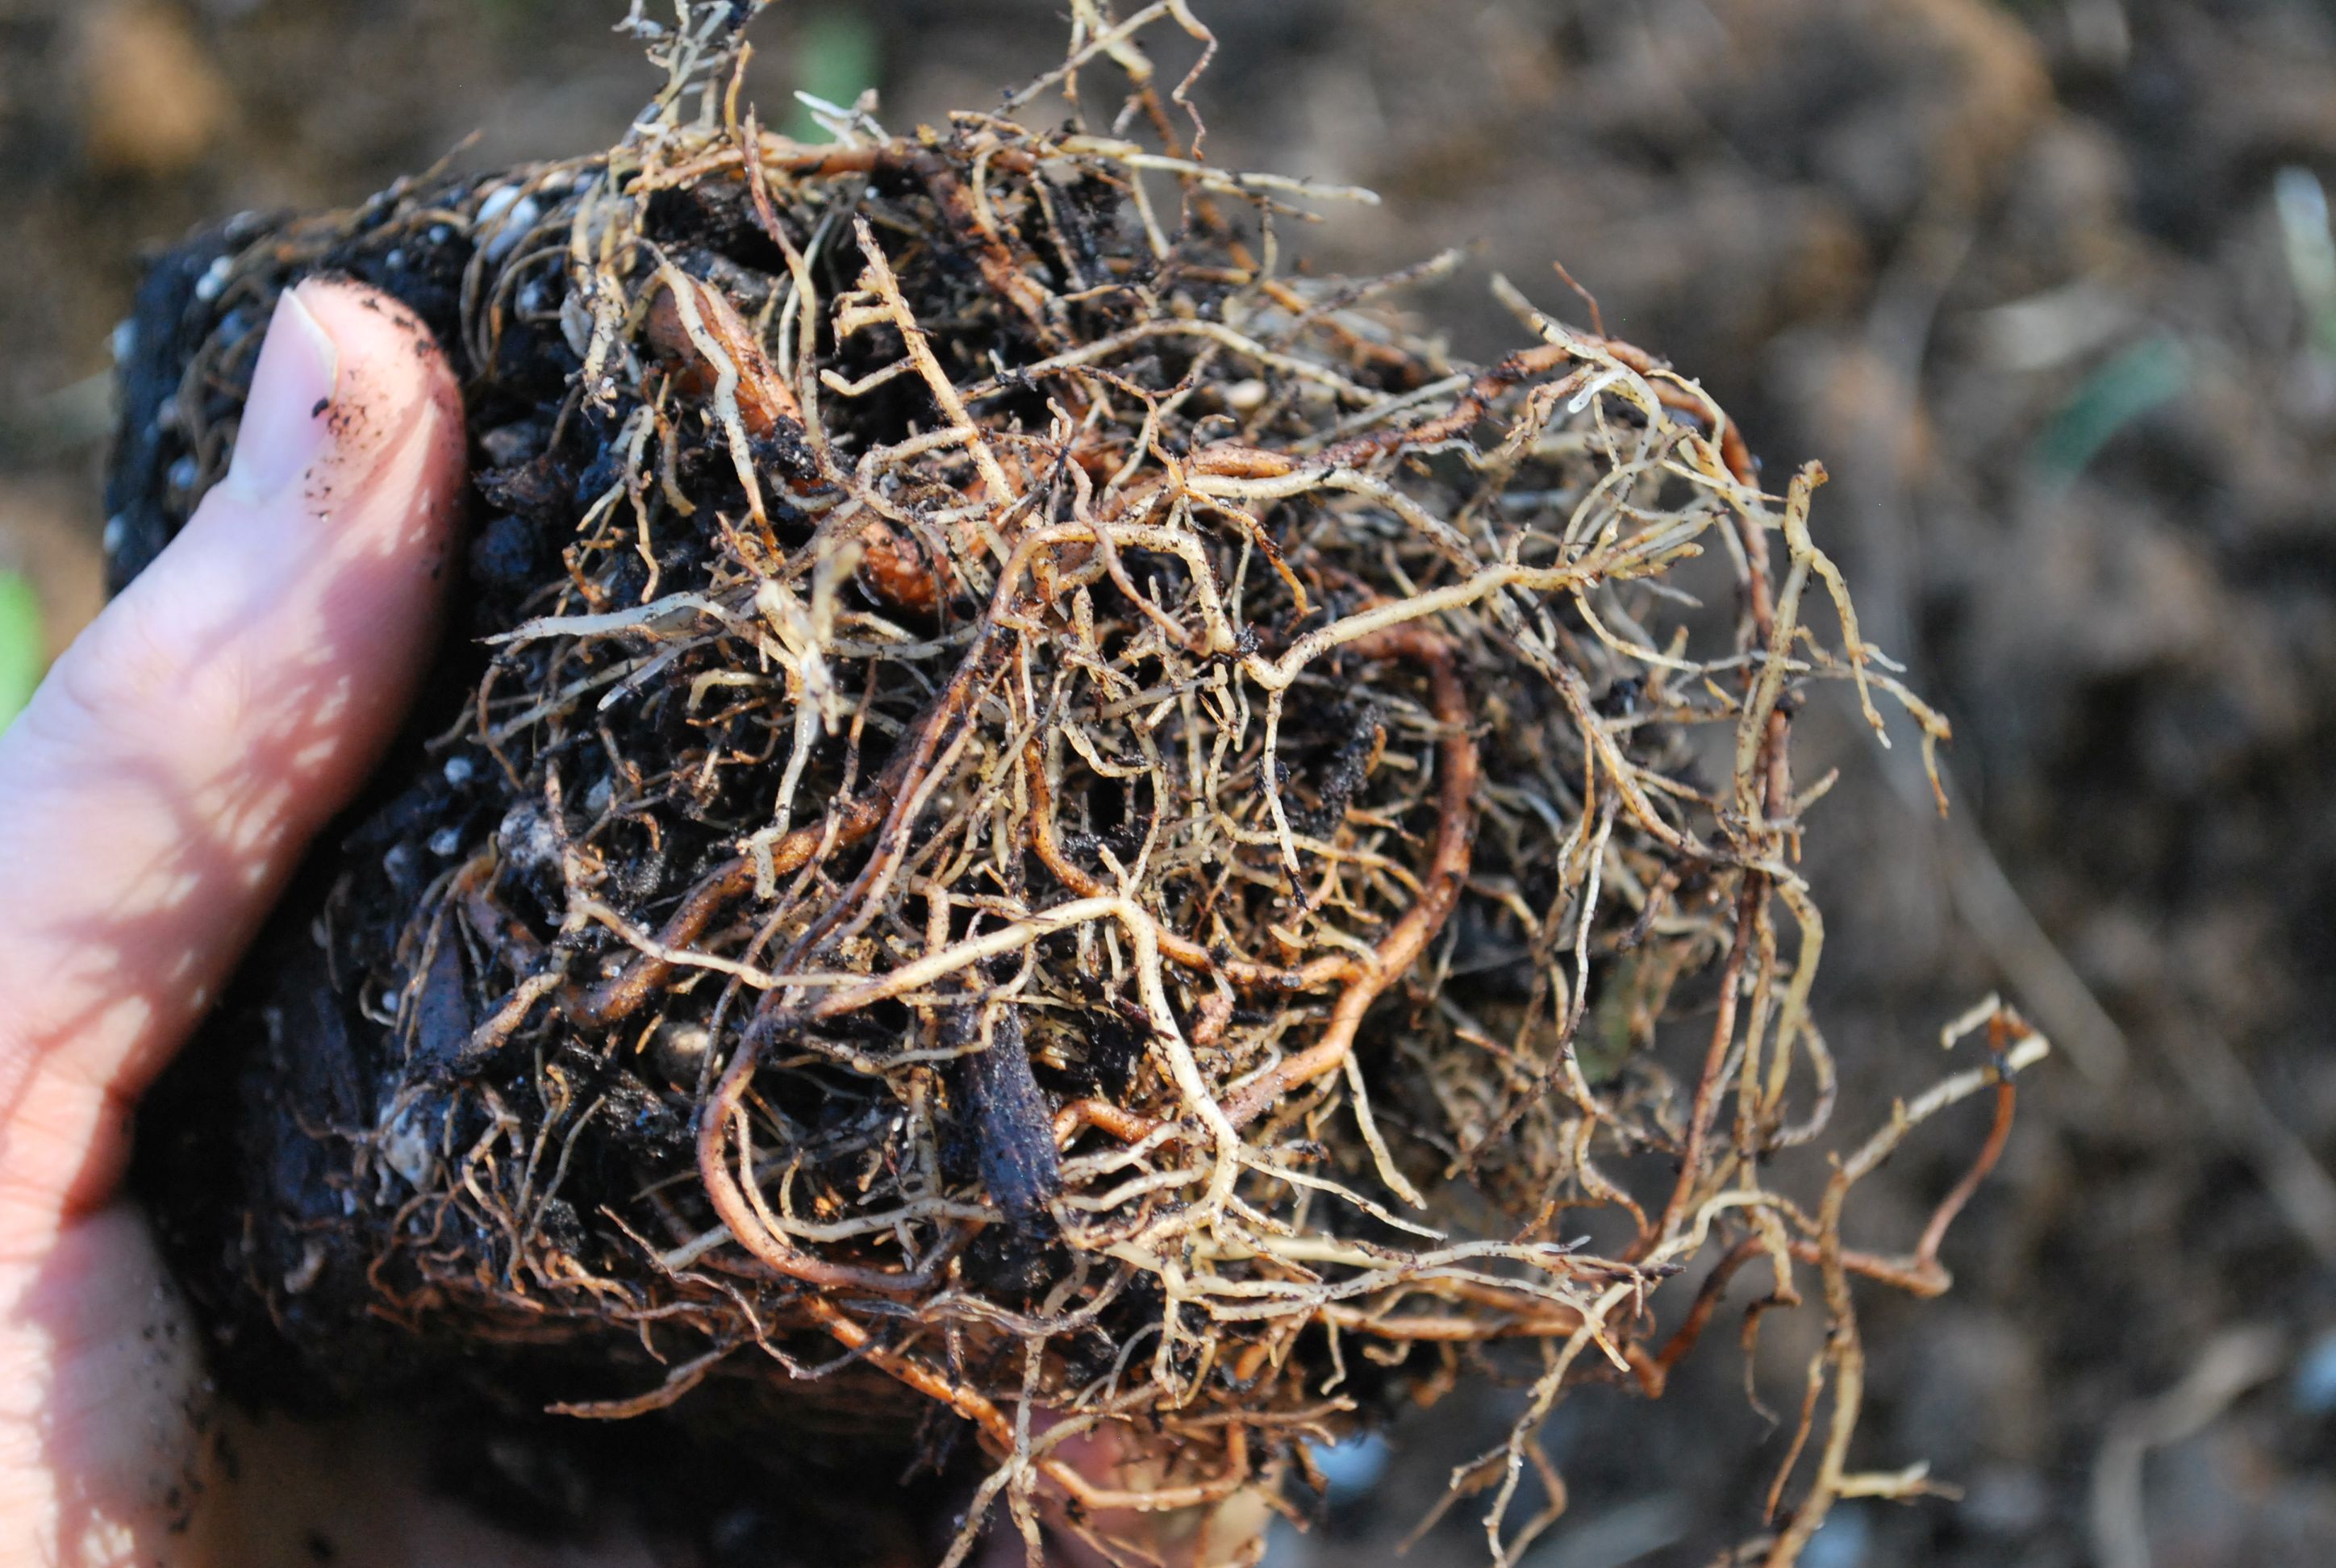
If your plants are root bound like mine (you can see a picture of mine above) gently tease apart the roots at the end before you transplant. There’s a picture below of what the roots should look like after you gently give them some wiggle room.
Transplant the Tea Bushes
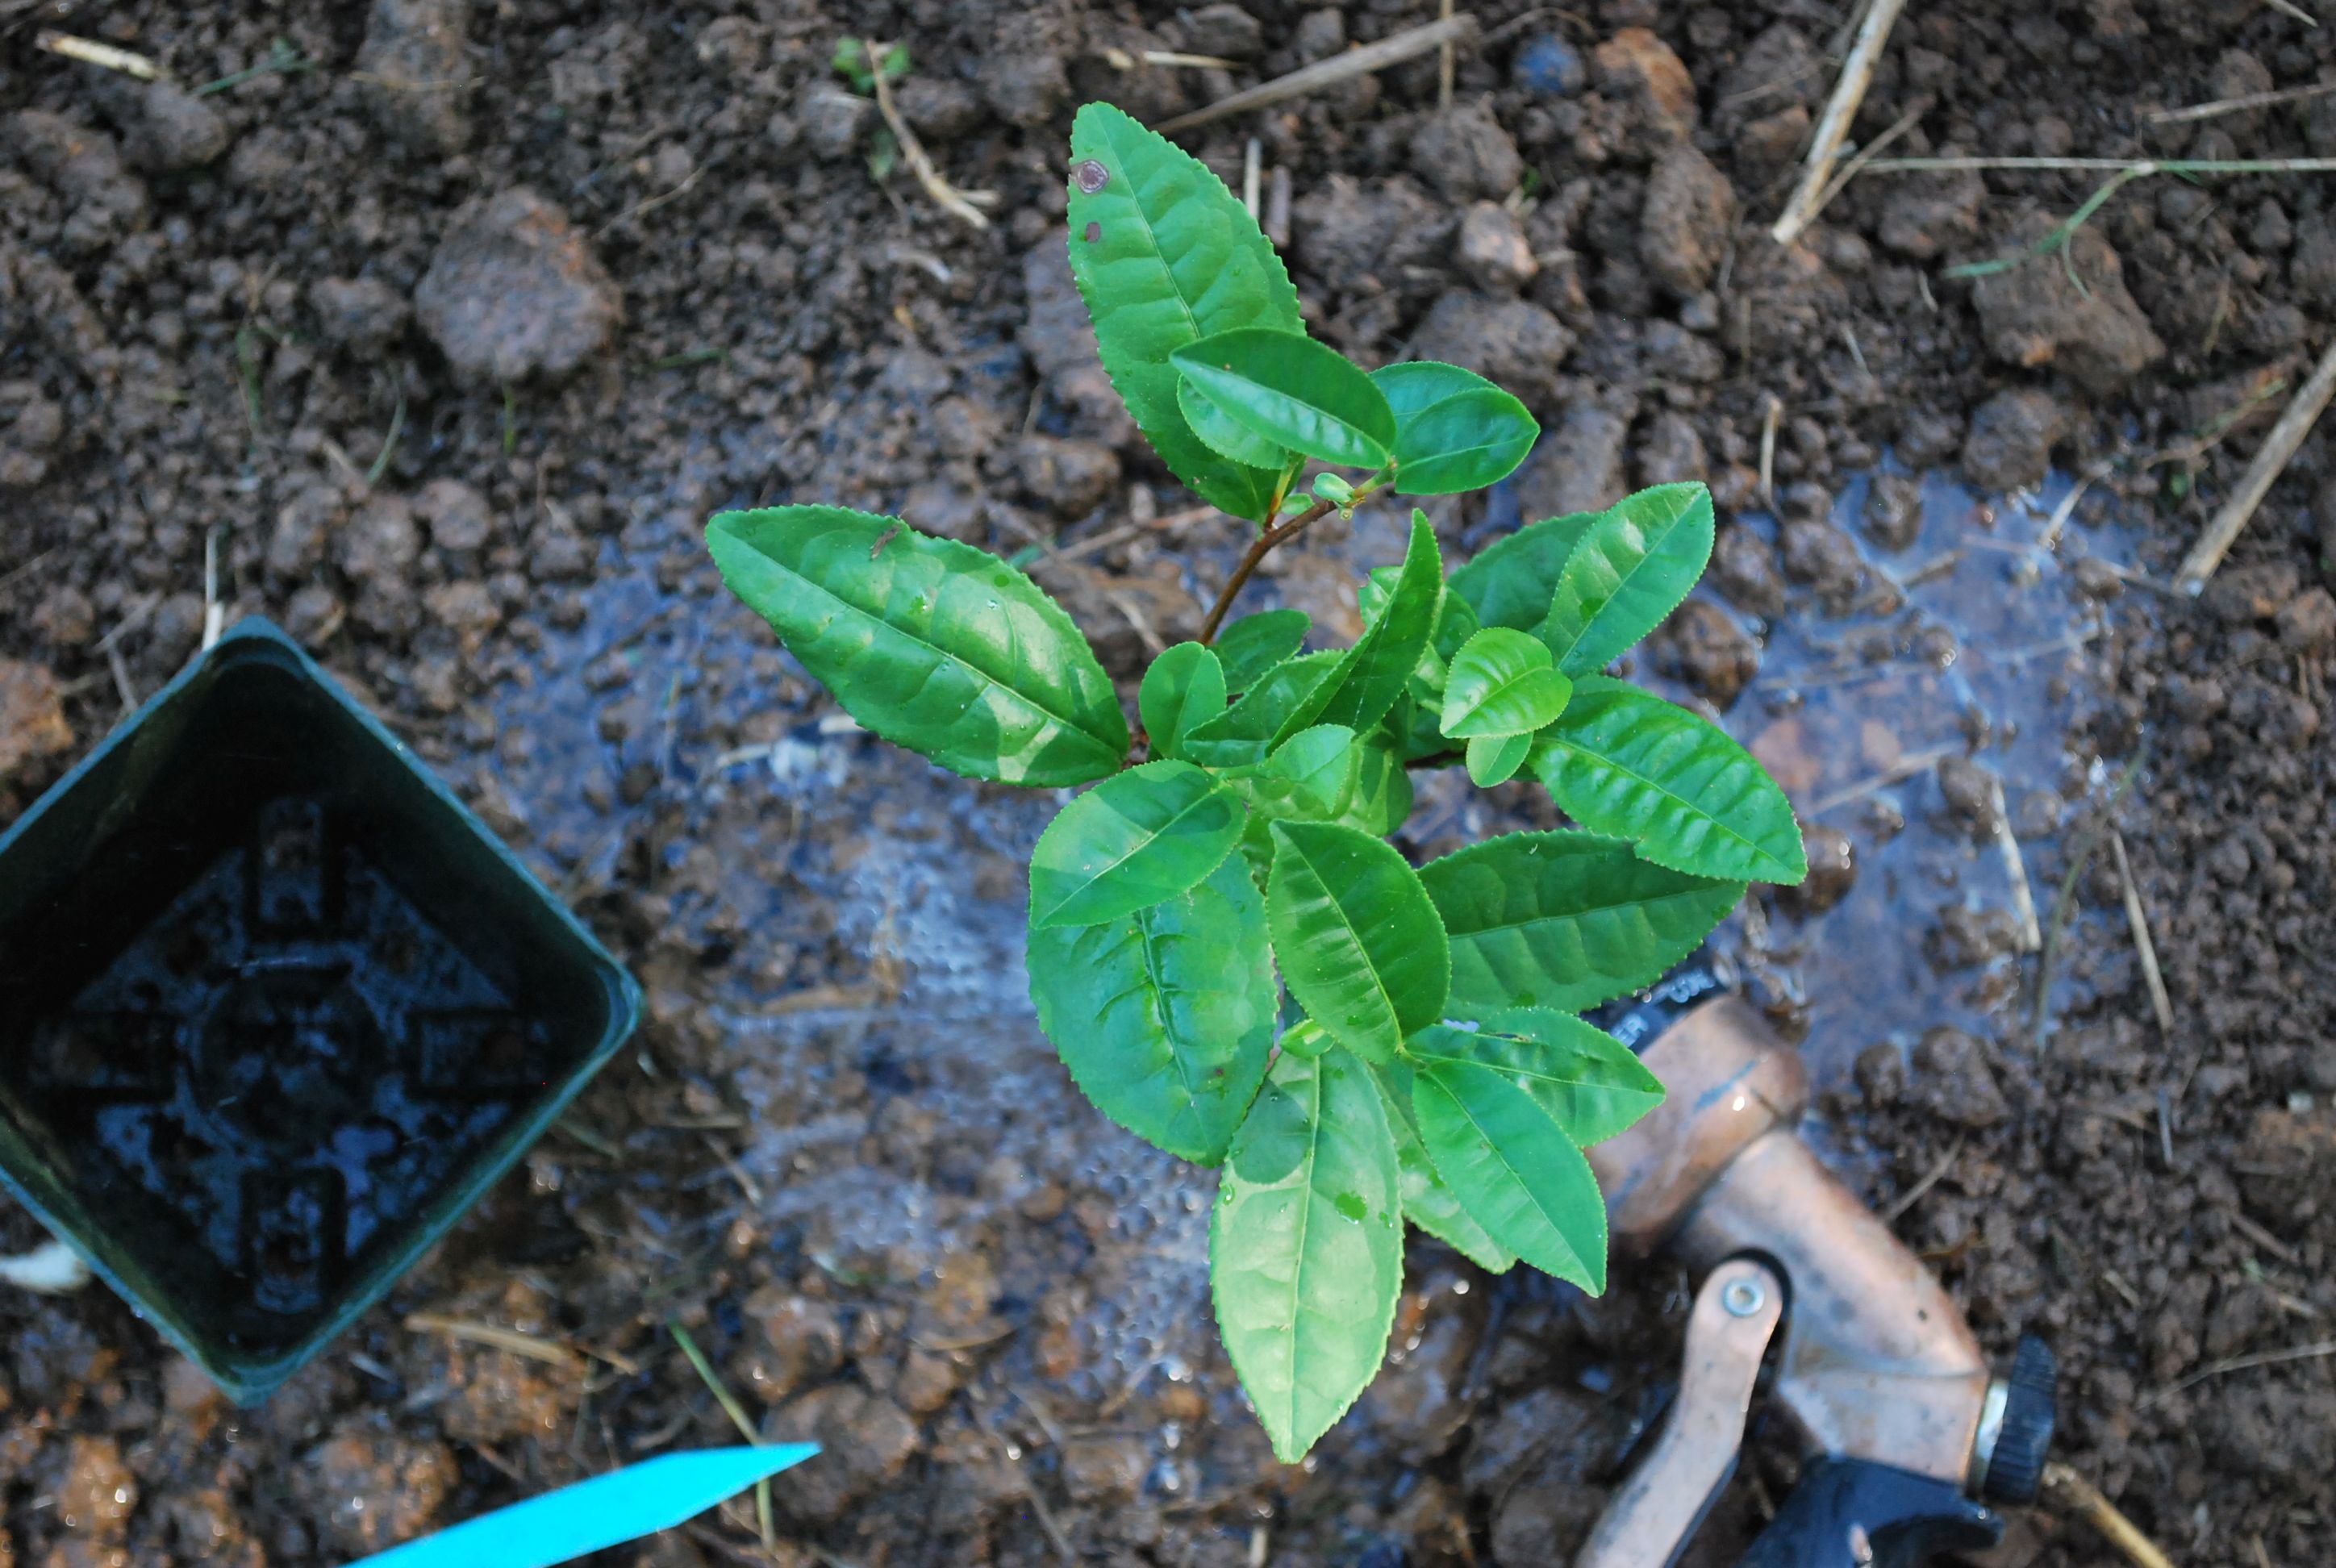
After your roots look good, it’s time to plant your tea babies. Camelias do NOT like to be planted deep, so I would advise against a deep hole. Instead, dig a hole that allows the place where the stem and roots connect to be level with the ground around the hole, or even slightly above it.
Fill in the hole around your tea plant and gently pat the soil so everything is even. I added a little bit of soil over the top of my tea plants and patted everything down level.
Water In Your Plants
After that, it’s time to “water in” your tea plants. Watering in just means you give them a nice long drink of water to help them settle in and counteract some of the stress that goes along with a new home. I set my garden hose to “flood” and set it next to the base of each tea plant for 2 minutes.
Provide Shade in the Winter (If Needed)
I will be keeping an eye on my tea plants over the winter to see if they need a little extra shade. Camelias can be a little finicky when they are small and benefit from extra shade their first winter, so it wouldn’t surprise me if the tea plants are the same.
Hoping for the Best
Our Camelia sinensis plants should be able to take advantage of our long growing season to build up their root systems through September and October. If all goes well, we should start to see new growth in the spring. It will take at least another year (possibly two) before the plants will be large enough to tolerate a harvest – so this will be an ongoing project for us as we learn the ins and outs of caring for tea plants.
Share Your Experience!
Have you grown your own tea plants? I’d love to hear from you in the comments! What worked well (or not so well) for you?