Links contained in this post and elsewhere on my website may include affiliate links. When you make a purchase through these links, I earn a commission at no additional cost to you. I only link to products and services that I love - and that I think you will love, too!
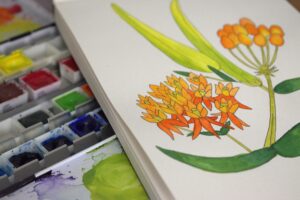
I’ve enjoyed drawing and sketching ever since I was a little girl. Mostly, I enjoy drawing landscapes and animals, so drawing plants is something I’d like to get better at. This year, I’m using art as a way to explore and document my connection to herbalism. I was so excited to take the Botanical Drawing for Herbalists Course (#affiliate) by the Herbal Academy because it fits my goals of blending art and herbalism perfectly. Here’s what’s included in each of the five lessons in the course and what I enjoyed the most.
Affiliate disclosure: I’ve been a member of the Herbal Academy’s writing team in the past and receive commissions on sales made through links to their products.
~Agatha
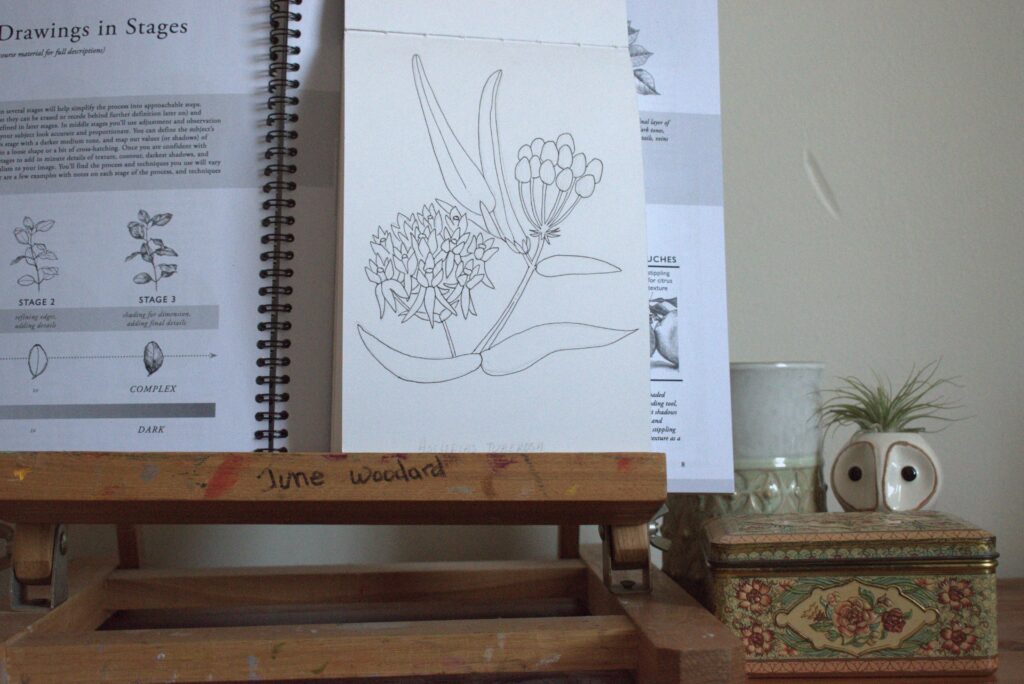
As is usual for Herbal Academy courses, the course itself is beautifully presented. There are videos and extra resources, like printables, throughout. I also upgraded to try the sketchbook! This course is ideal for beginner artists or complete newbies.
I knew many of the techniques already and already know my favorite tools. However, there were still plenty of thought-provoking questions that helped me engage with my art process in new ways. Lesson two, on botany and plant characteristics, was a really good refresher. Stepping back and thinking about my art as a step-by-step process, instead of my usual intuitive approach, helped me see areas in each drawing I can develop and how to better balance each image as a whole.
Lesson One on Drawing Plants: Introduction
One excellent reason to learn botanical illustration as an herbalist is that it reinforces observation. Drawing an herb requires that you slow down and really focus on details. The first lesson also explores drawing as a meditation and its benefits for mental health. I’d never considered these points, but reflecting on them made me realize both are true for me.
Lesson Two: Botany and the Characteristics of Plants
Art is all around us in the natural world. Botany itself is an exploration of shapes and structures. Flower parts, leaf parts, and plant families are the main points covered in this lesson. The printable plant families guide is especially helpful!
Another point I loved from this lesson is how to isolate a plant’s unique signature characteristics, as well as the different purposes of using artistic expression over strict scientific portrayals.
Being able to express yourself through developing your own style is an important aspect of art!
Lesson Three: Getting Started Drawing Plants
After learning about botany and the characteristics of plants, the next lesson introduces drawing tools like pencils, paper, ink, and watercolors. In this lesson, you’ll also learn basic drawing concepts like contour drawings, negative space, working with shadow and light, and color studies.
Lesson Four: Foundational Tools for Drawing Plants
Next, in Lesson Four, you’ll learn what it takes to create a botanical drawing from concept and first sketches to finished artwork. Preliminary techniques like blocking with simple shapes and techniques to refine the preliminary sketch (like using plot points and grids) are all included.
Personally, I like using blocking with simple shapes. It’s the way I was taught to draw as a kid. I’ve also used grids, especially if I’m taking a small reference photo and want to make a larger drawing from it. And I’ve done some free-hand line work that focuses on observing the relationship between each element and building the drawing up gradually. I’ve never tried using plot points, though, so that was really interesting!
After the preliminary and refinement work, the lesson presents techniques for adding depth and detail. For example, three different types of shading marks are explained. I personally use a lot of stippling (shading with small dots) but you might find that you prefer cross-hatching. Or maybe you’ll prefer a smoother shading technique, like working with graphite or charcoal.
Lesson Five: Finished Drawings Step By Step
Once you’ve learned the techniques needed to build a drawing from start to finish, this lesson examines examples and processes of botanical drawings. Thinking in layers really helps at this stage! The lesson does a wonderful job explaining how to develop the layers of a drawing until it makes you happy.
I loved that this lesson included fantastic prompts for using your new skills. Whether you make a sketchbook of plants you see during a season, explore how a single plant changes over the growing season, or utilize one of the other prompts- you’ll find plenty of ideas to keep yourself growing as a botanical artist.
How I’m using what I learned
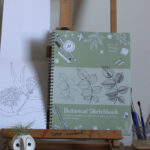
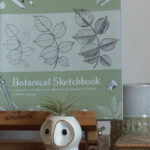
The course also comes with an optional sketchbook/workbook upgrade. It’s a perfect companion to the course. I love having the botanical reference pages and a place to practice all in one place!
I’m using what I learned about drawing herbs in this course to illustrate a nature journal about my experiences with native plants, create herbal zines, and complete a materia medica. I’ll be sharing my whole process in a series here and over on YouTube!
Tomorrow, I’ll share my nature journal with you.
All the best,
Agatha