Links contained in this post and elsewhere on my website may include affiliate links. When you make a purchase through these links, I earn a commission at no additional cost to you. I only link to products and services that I love - and that I think you will love, too!
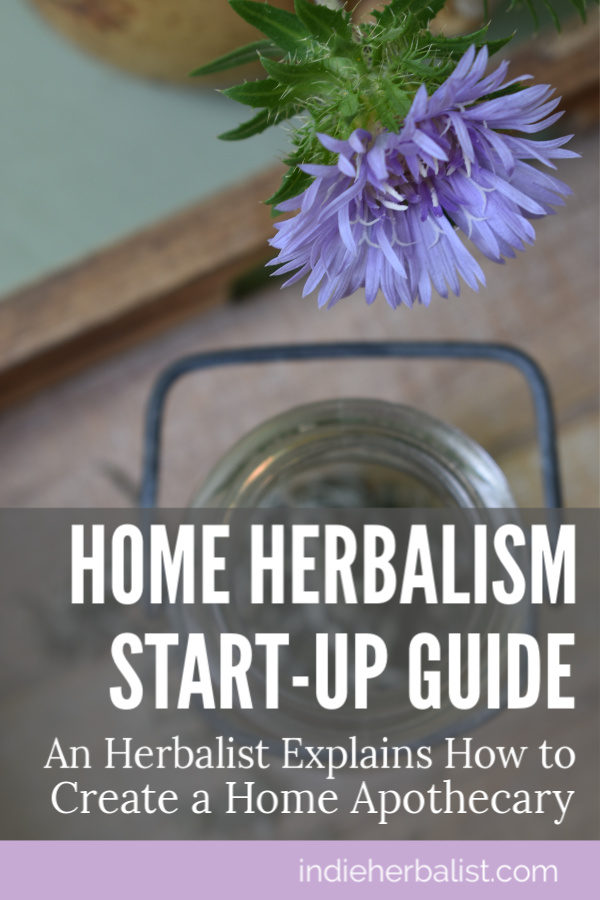
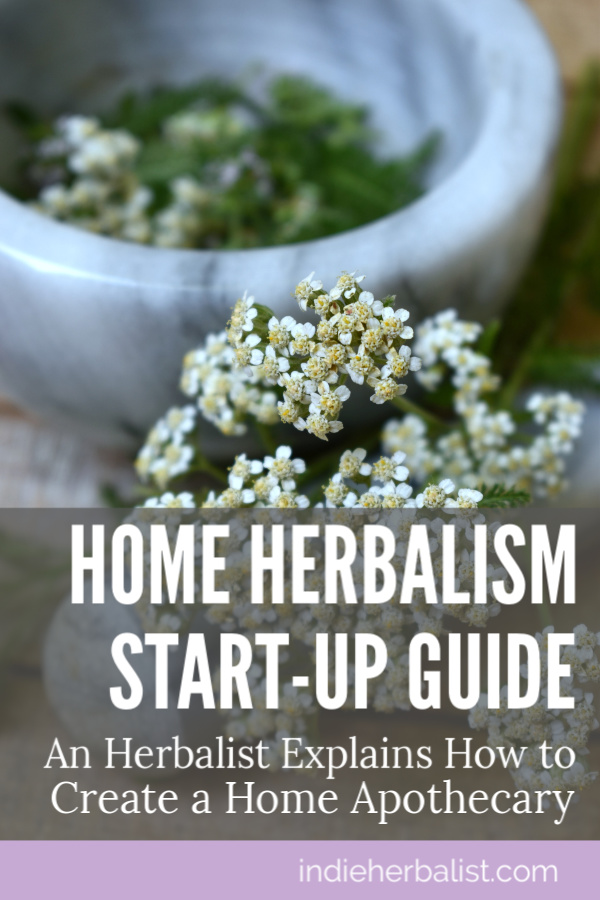
So You Want to Start a Home Apothecary . . .
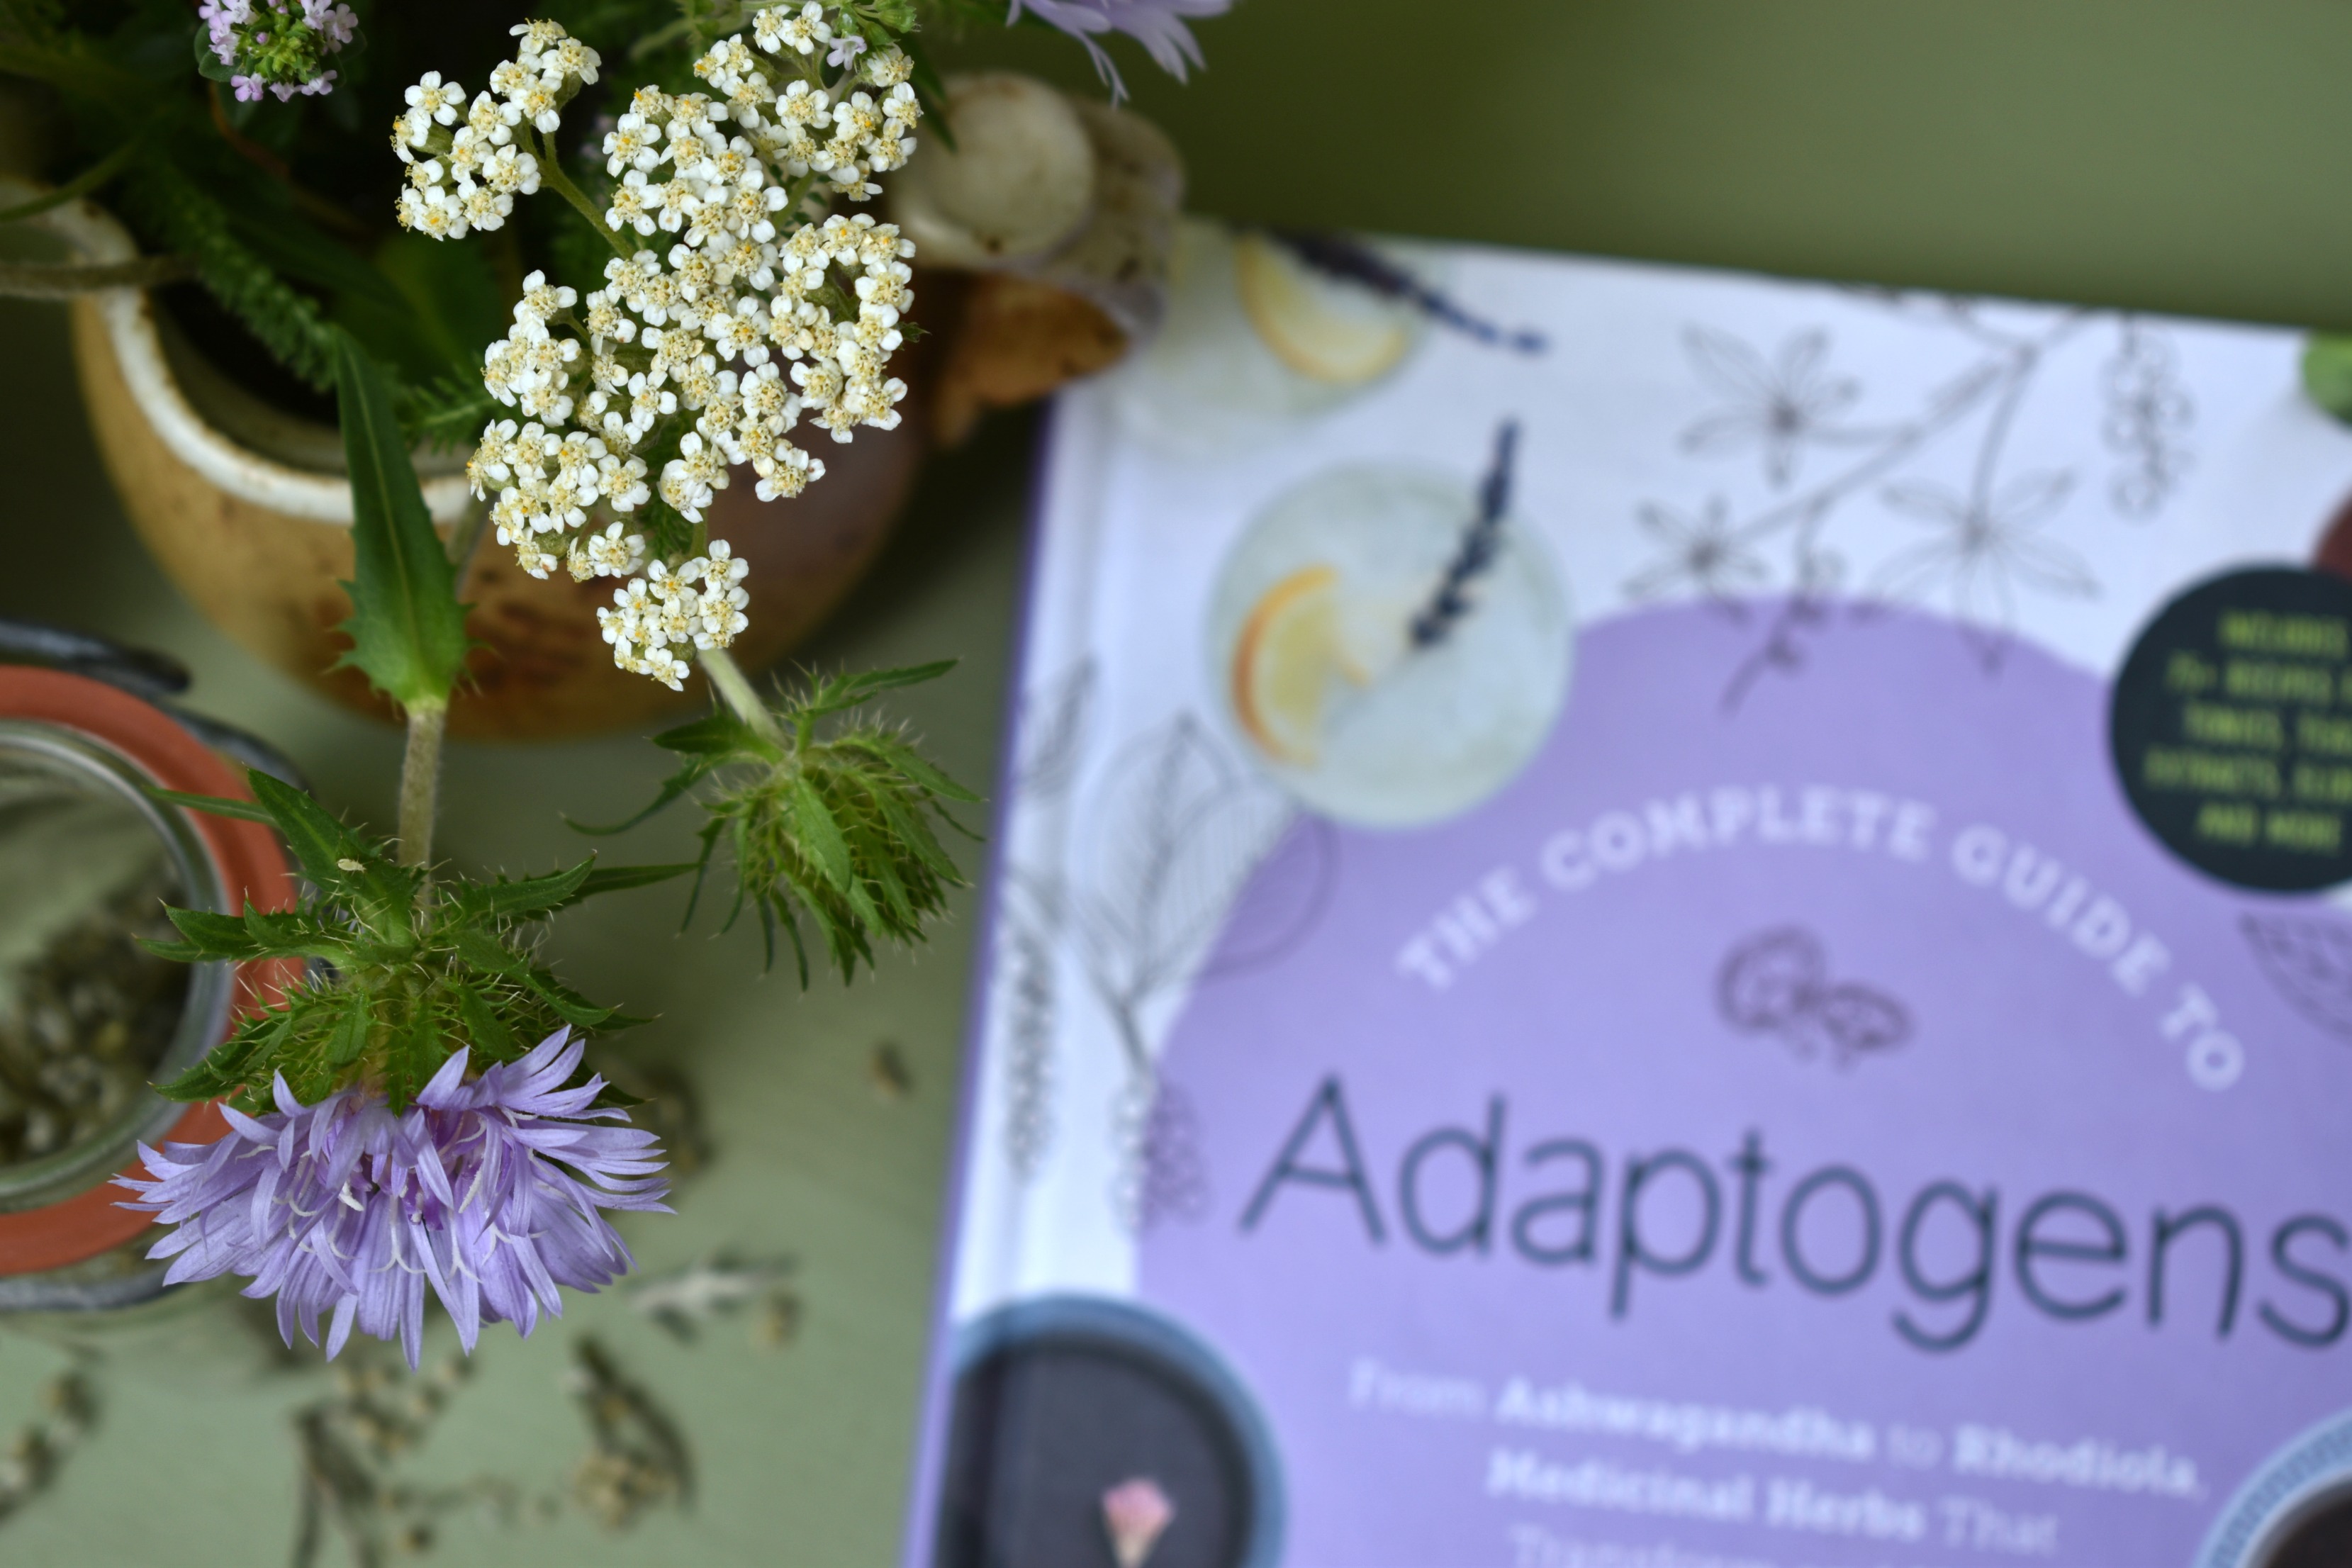
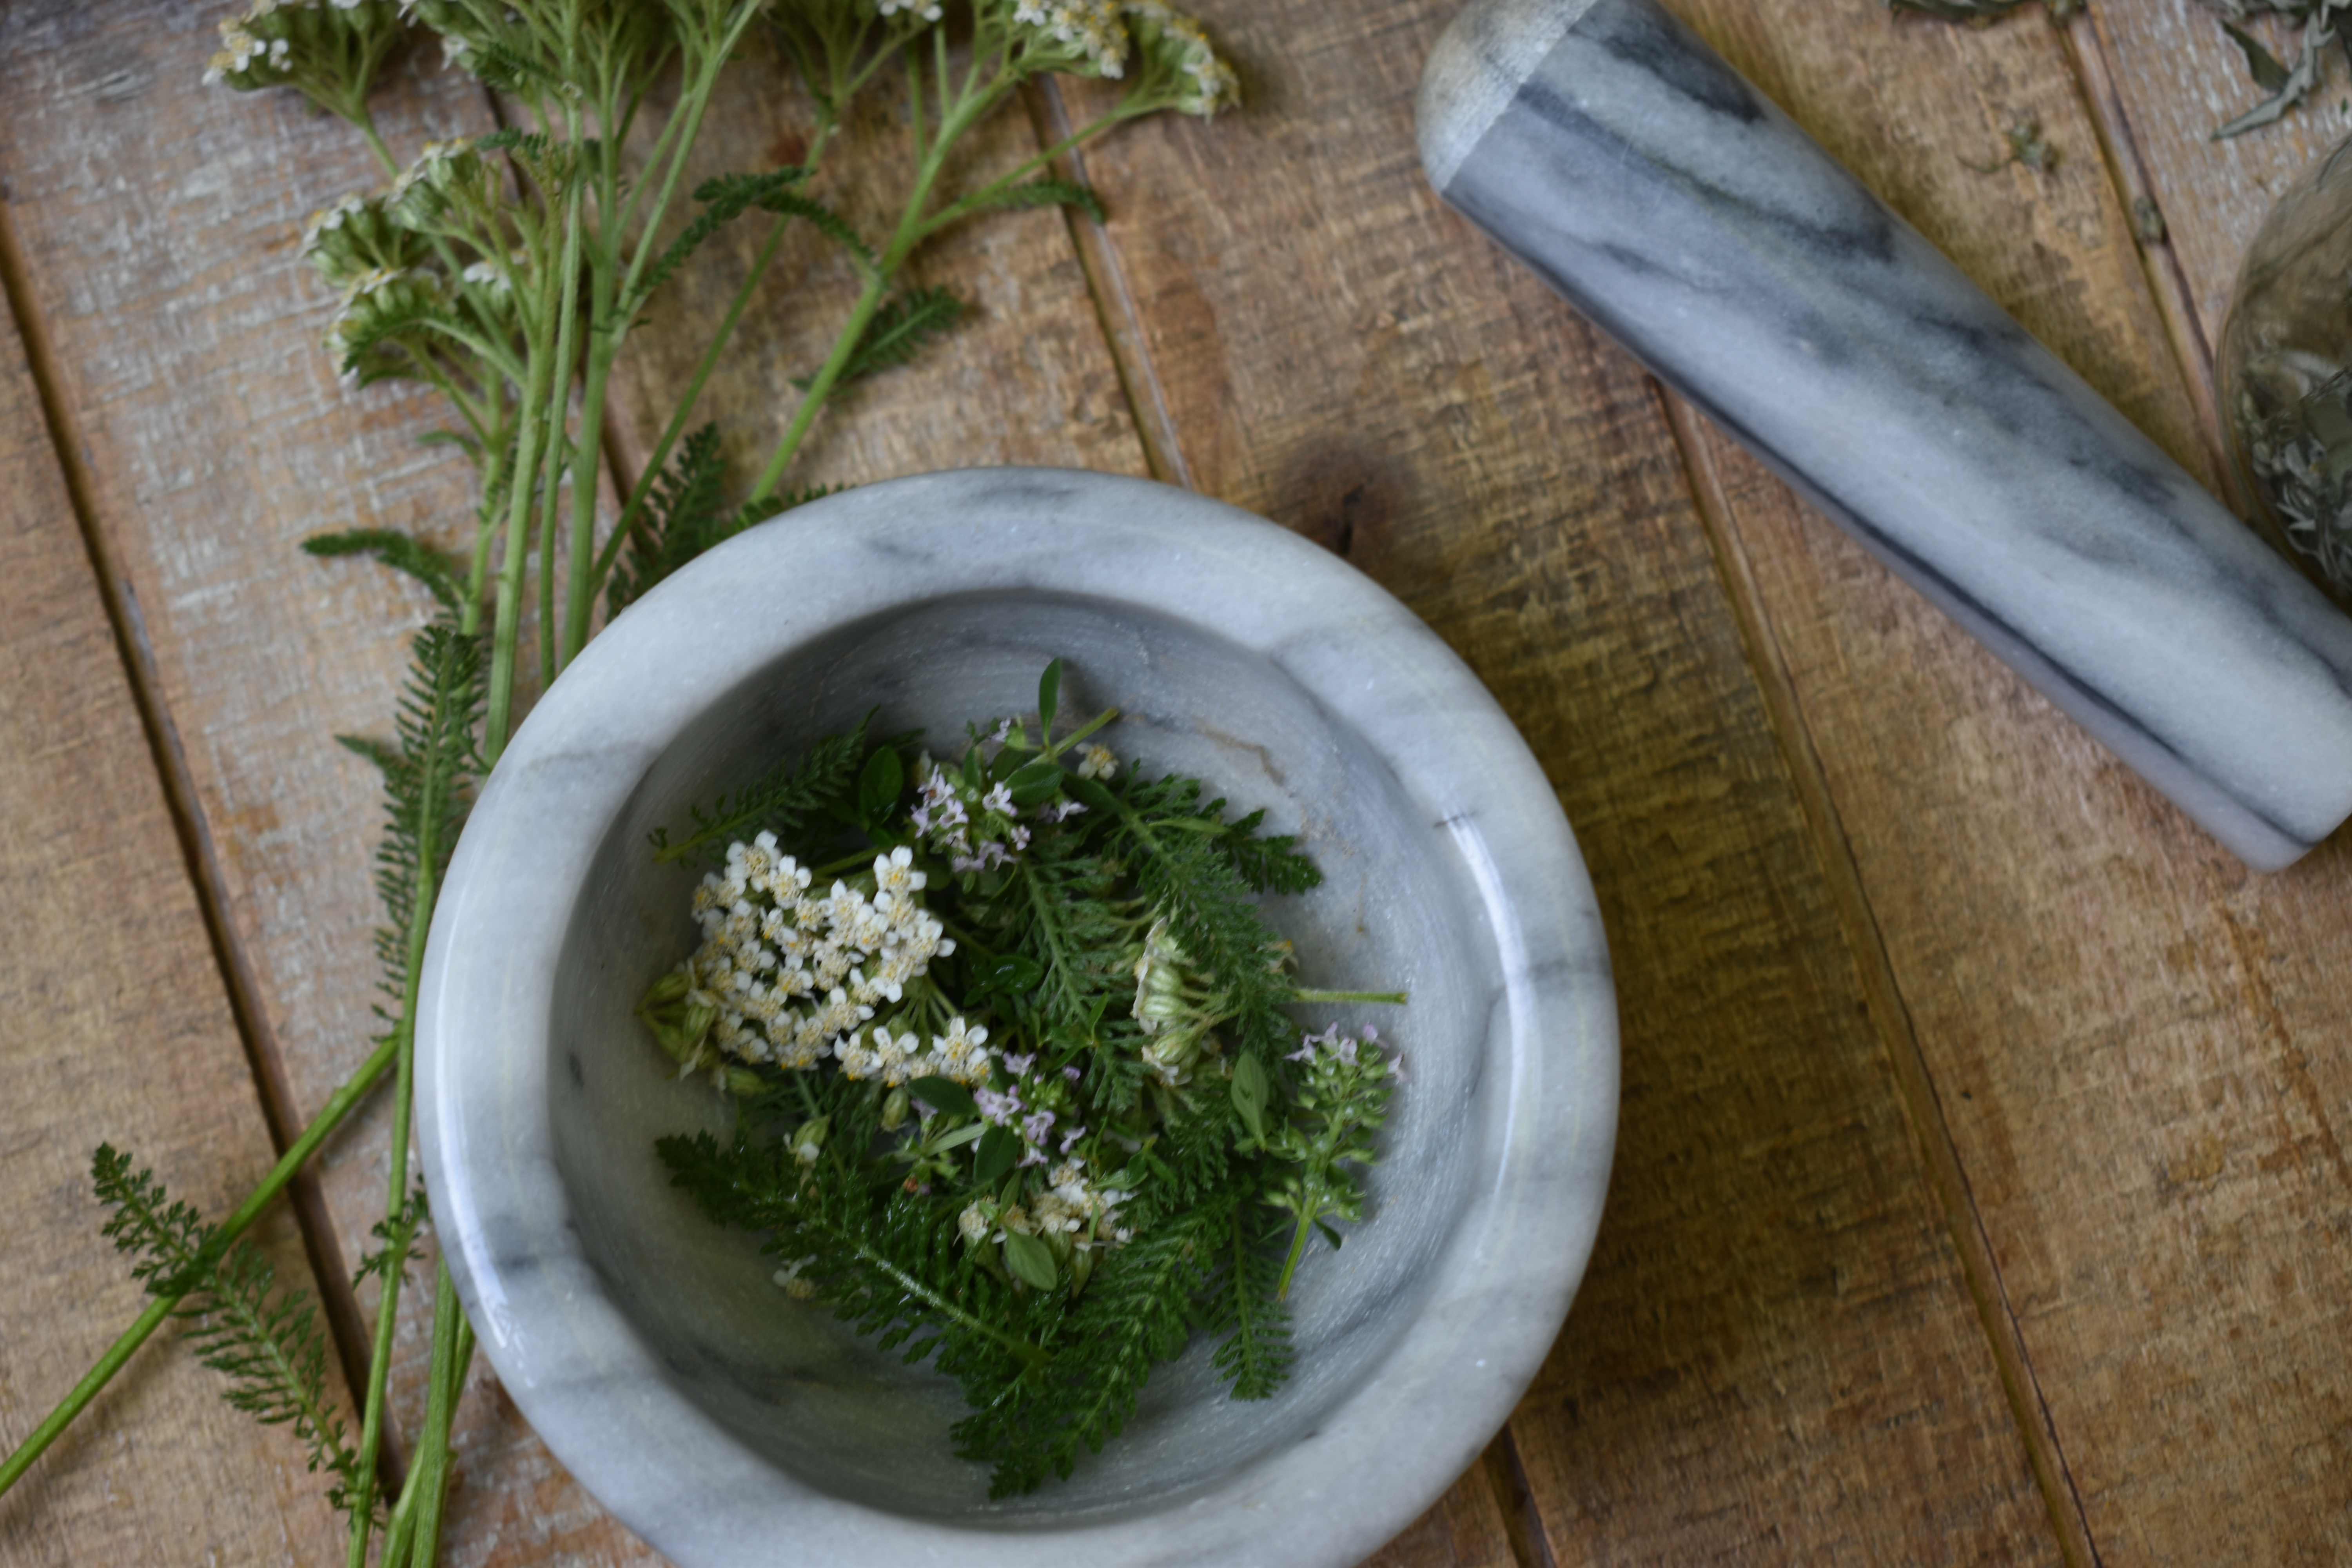
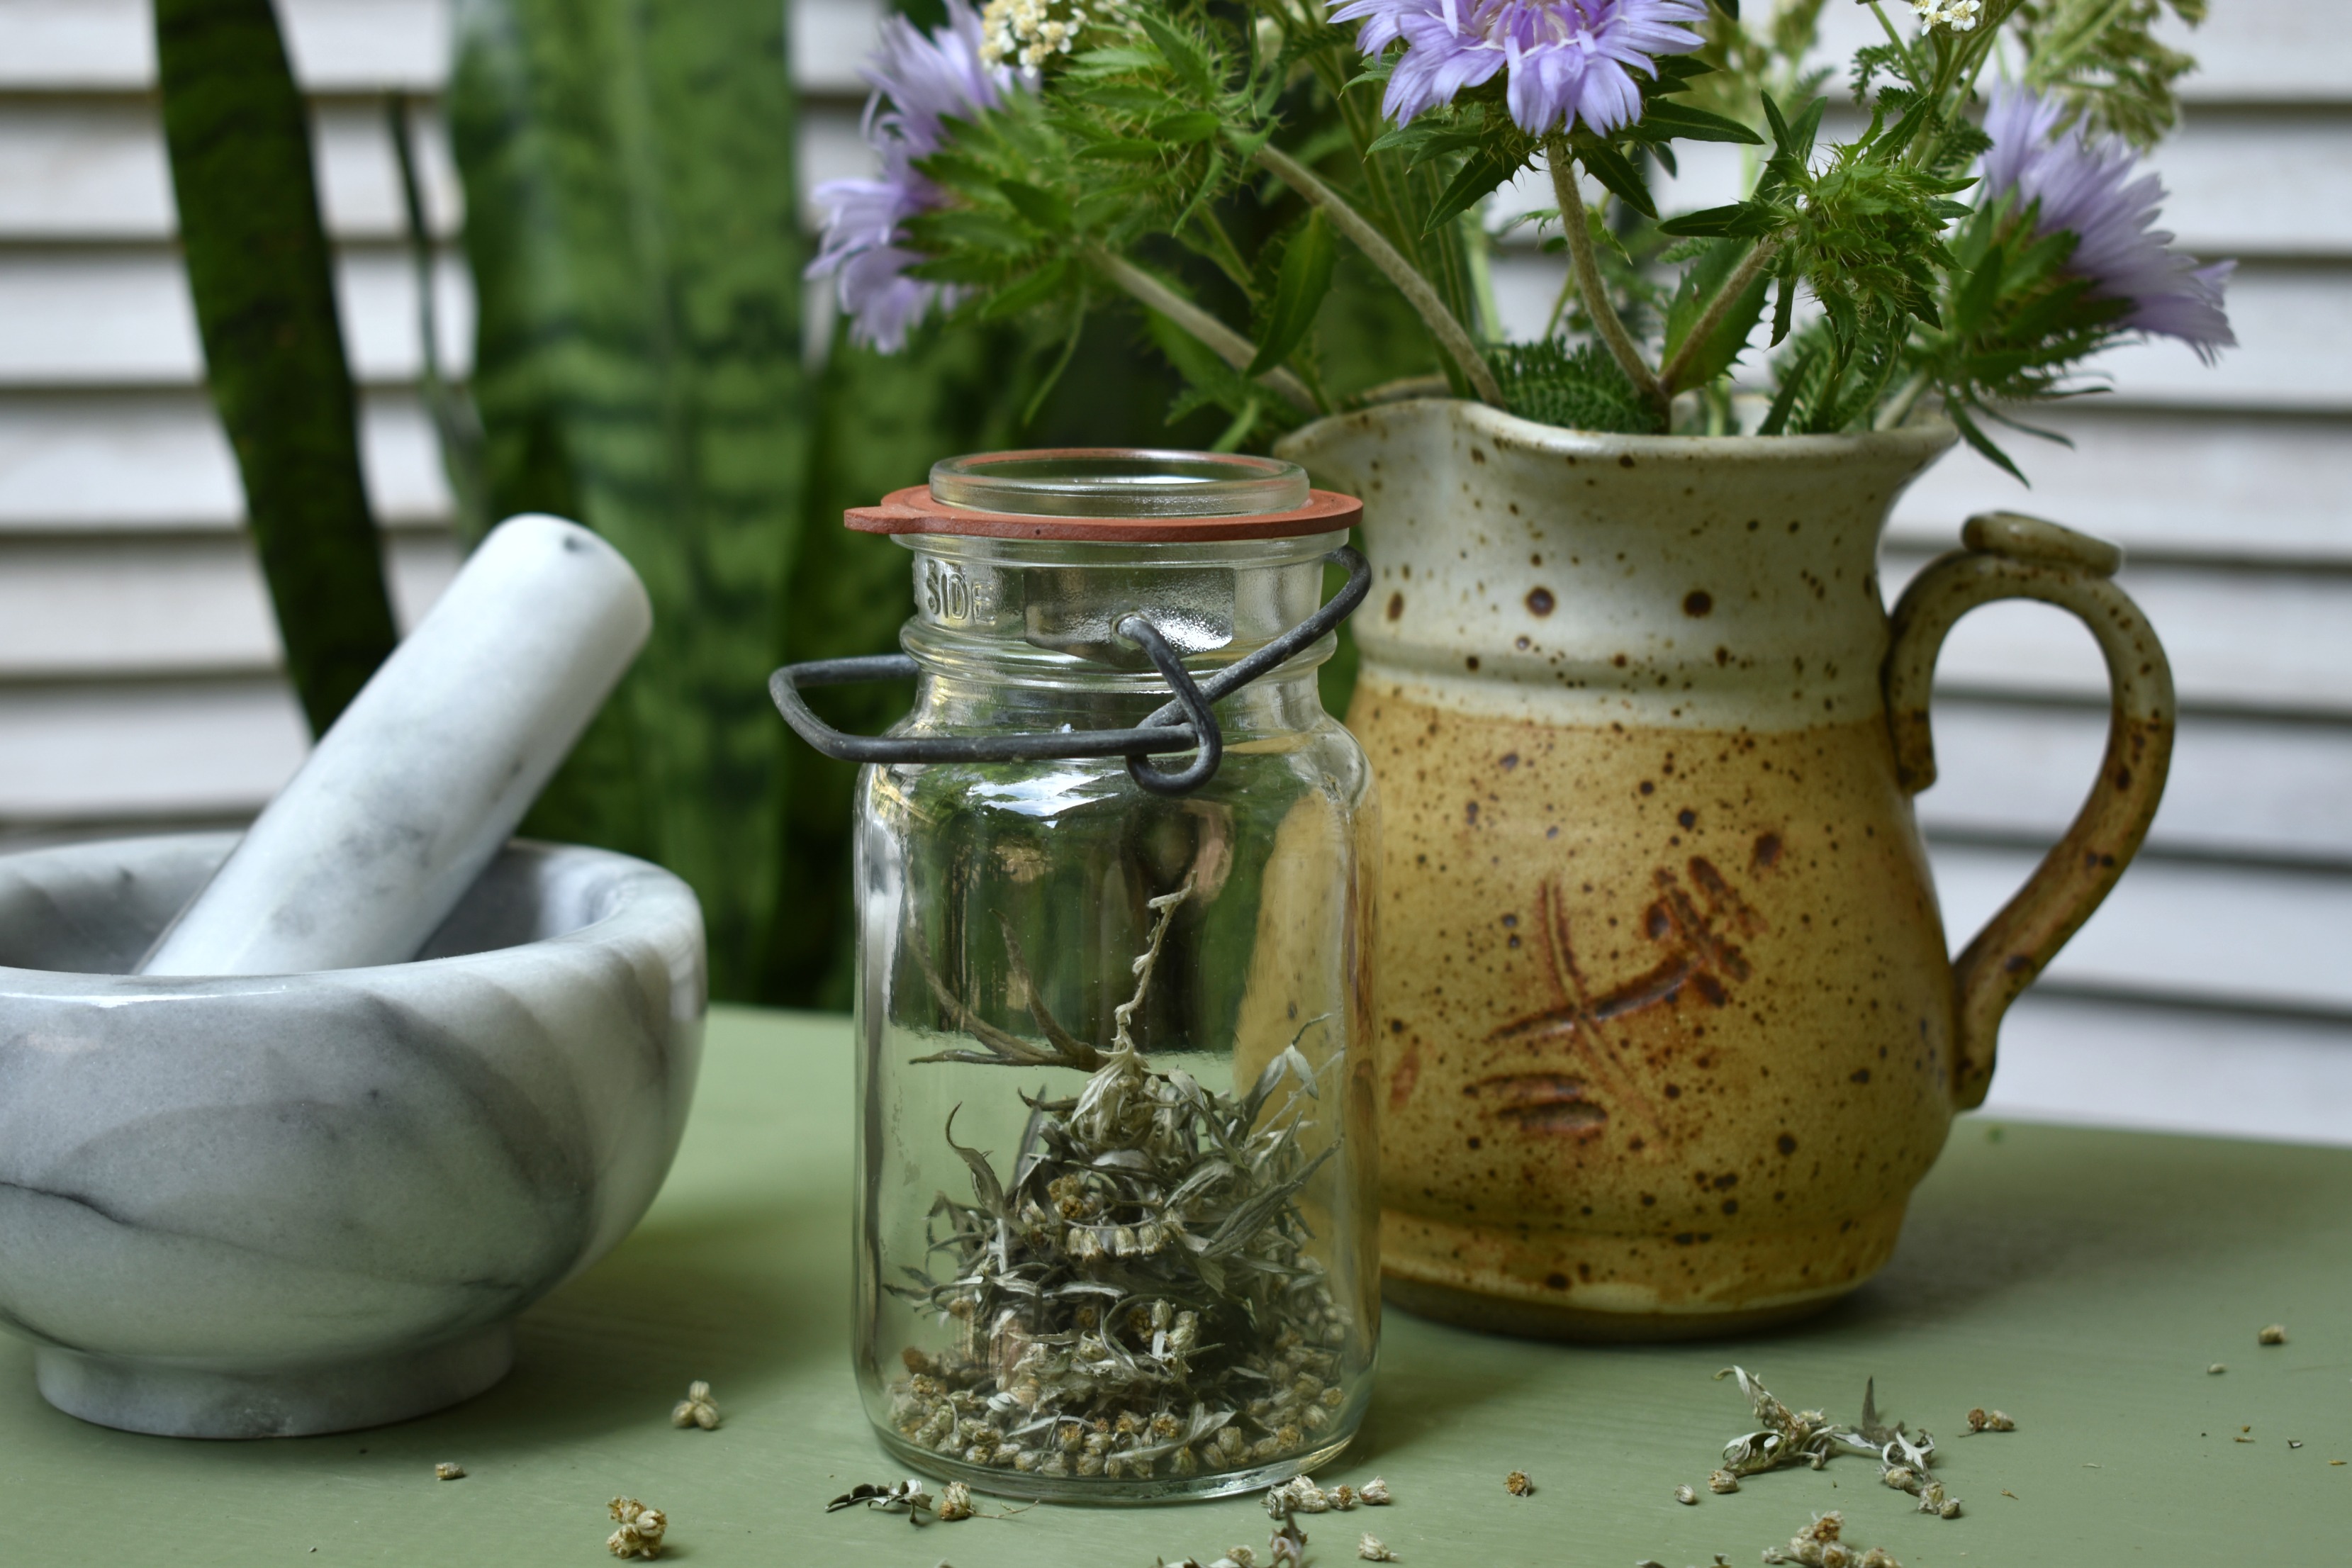
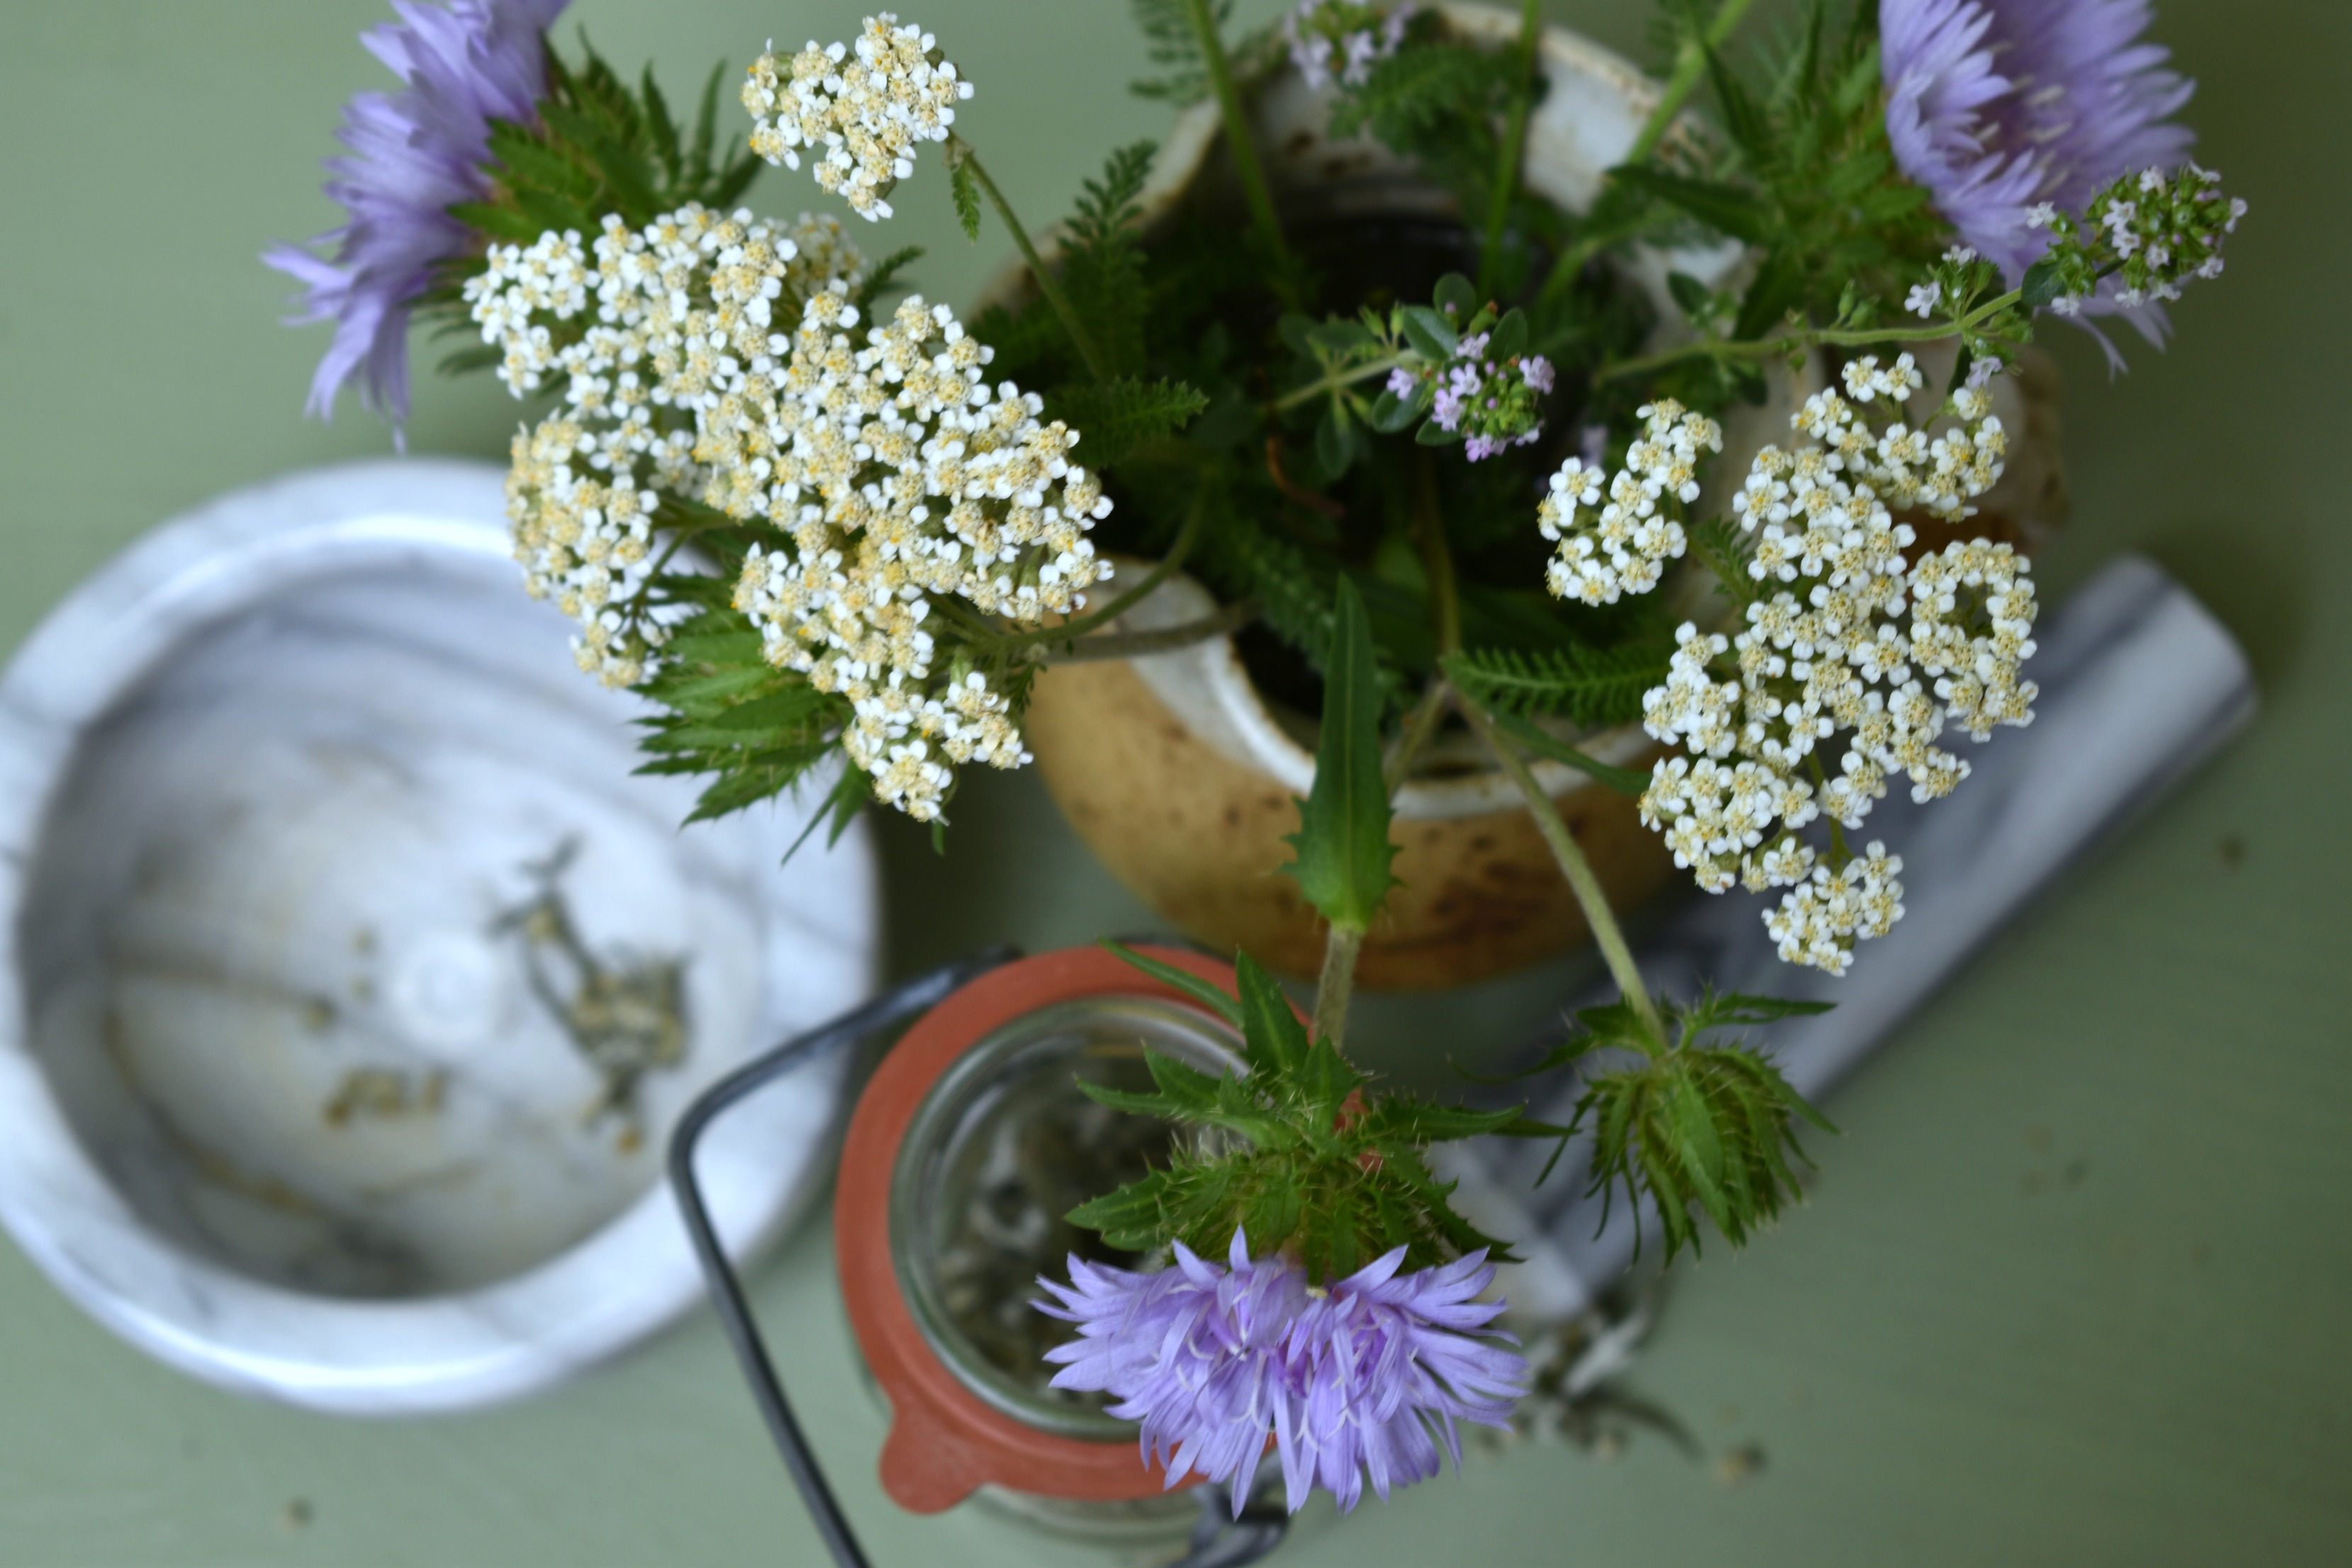
Perhaps you’ve seen dreamy pictures of home apothecaries come up on your Instagram or Pinterest accounts. Charming glass jars full of gorgeous petals, roots, and leaves; handsome mortars and pestles; tall stacks of herbal books you can’t wait to crack open. . . the home herbalist bug has bitten you, and bitten hard!
But where on earth do you begin if you want to become a home herbalist? How do you start your own home apothecary? Taking a moment to think about why, exactly, you want to have a home apothecary can be a great place to start.
Why Become an Herbalist?
People come to herbalism for different reasons. These can include a focus on personal health, vocational pursuits, or even as part of emergency preparedness planning.
Are you interested in providing for your own health needs? Do you have the wellness of your whole family in mind? If your main focus is for personal or family health, you will need to keep supplies on hand that compliment your typical needs. Focusing on herbs and ingredients that are family friendly and versatile, and balancing your herbal supplies within your family budget, are key.
On the other hand, if you are an herbal student enrolled in courses as you pursue an herbal vocation, you may take a slightly different approach to your home apothecary. In that case, your home apothecary is more like an alchemy lab where you can complete your coursework and learn to ply your trade.
If you are approaching herbalism as part of an emergency preparedness strategy, you might need to consider circumstances outside of ones typically encountered by family herbalists or professional herbalists.
Each of these (and many others) are perfectly good reasons to have an herbal apothecary at home. The important thing is to be clear in your approach so that you can stay organized and plan what you will need and why you need it.
In fact, the reasons you keep a home apothecary may change over time! My own herbal apothecary started for personal reasons as well as being a student. I was learning to work with my own health needs as I recovered from Lyme, and had enrolled in an online herbal course to become a professional herbalist. Now I mainly keep my home apothecary as part of my emergency preps and for vocational reasons. I’m a freelance writer who specializes in herbalism, so having an apothecary helps with recipe development.
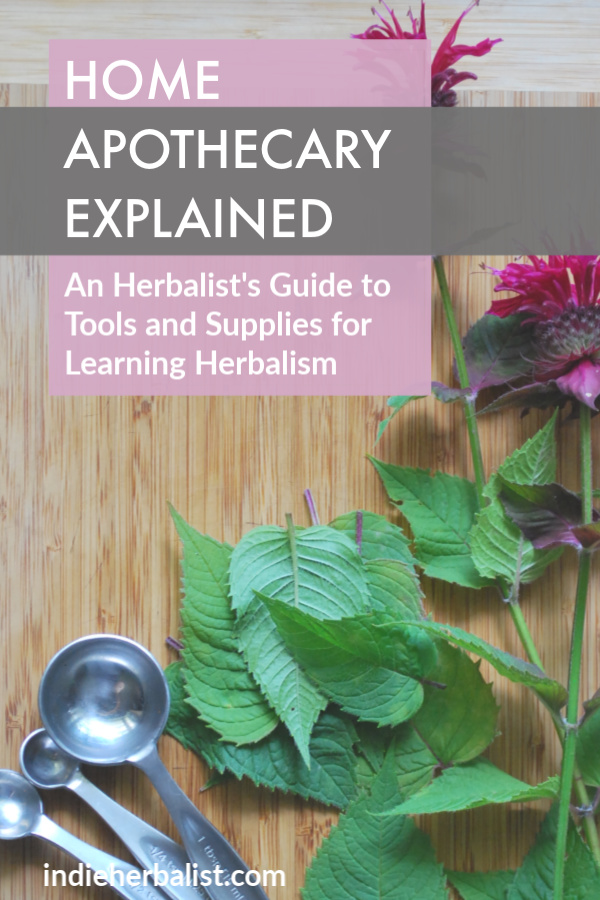
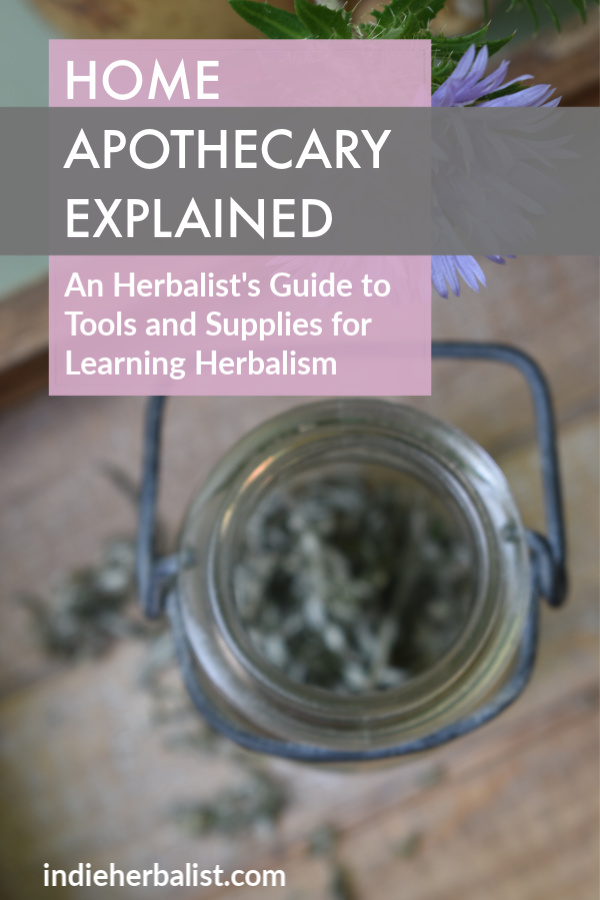
Home Apothecary Tools
Surprisingly, you only need a few tools to start your home apothecary. Your main needs are a way to boil water, some glass canning jars to hold your creations, and some amber bottles for storing herbal extracts. I do suggest having dedicated tools for your home apothecary, especially if you share a kitchen with other family members or roommates. Nothing is more frustrating than having to hunt down all of your tools before you begin! Here’s what I recommend and why:
Enamel or glass saucepan
An enamel or glass saucepan is useful for making different types of water-based preparations like tisanes, decoctions, and even herbal steams. It’s also handy when making herbal syrups. Enamel and glass are generally better than a metal pot because they are less likely to react with your herbal preparations.
Tea kettle
I love having a tea kettle, but you can also just boil water in an enamel saucepan. So if you need to budget for one or the other, get the saucepan, which will be more versatile, and save the teakettle as a later addition. When looking for a tea kettle, I suggest looking for a sturdy, well-made stainless steel version for best results. Plastic handles and whistles can break surprisingly quickly.
Mesh Strainer
This will be your best friend for draining off your extracts, teas, and even infused oils. Because I use a glass bowl or a wide-mouth canning jar, I find that a 6-inch size works well for me. Try to avoid the ones with wire handles; they can be quite uncomfortable to use!
Silicone spatula
A non-metal stirring utensil is a must, so that you don’t scratch up your nice enamel or glass pot. You can also use wooden spoons, but I really like my silicone spatula because it stays cleaner.
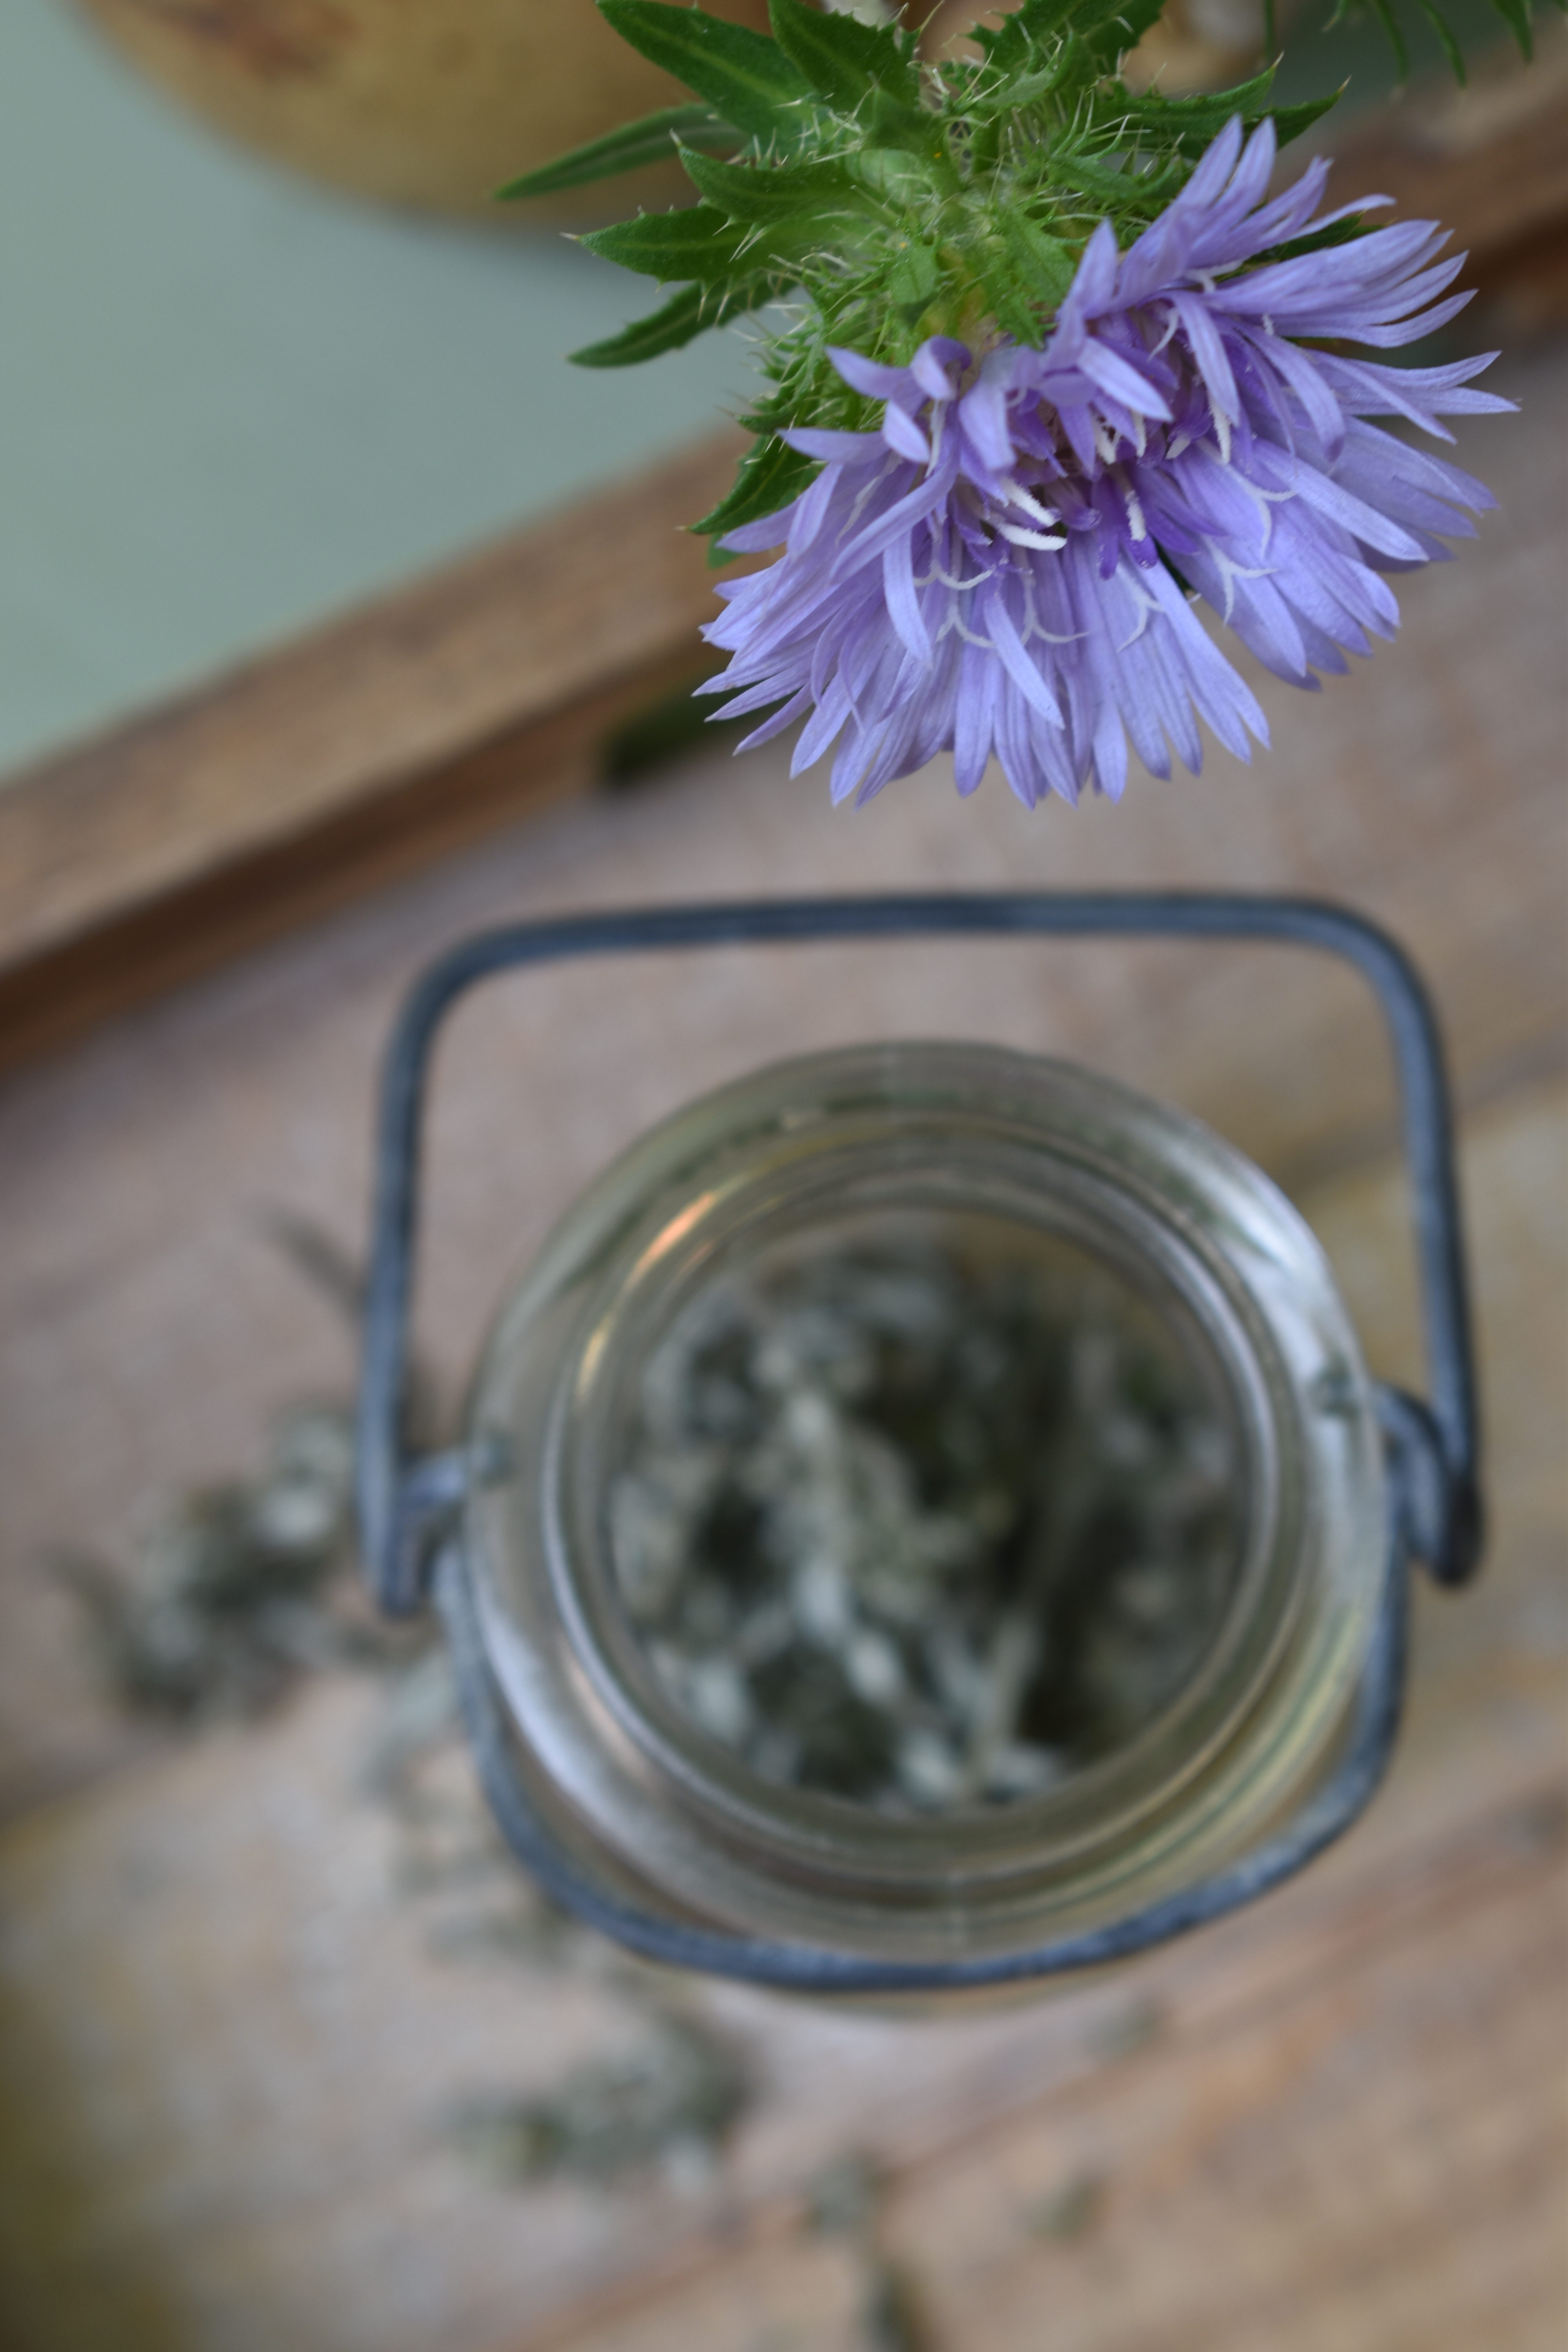
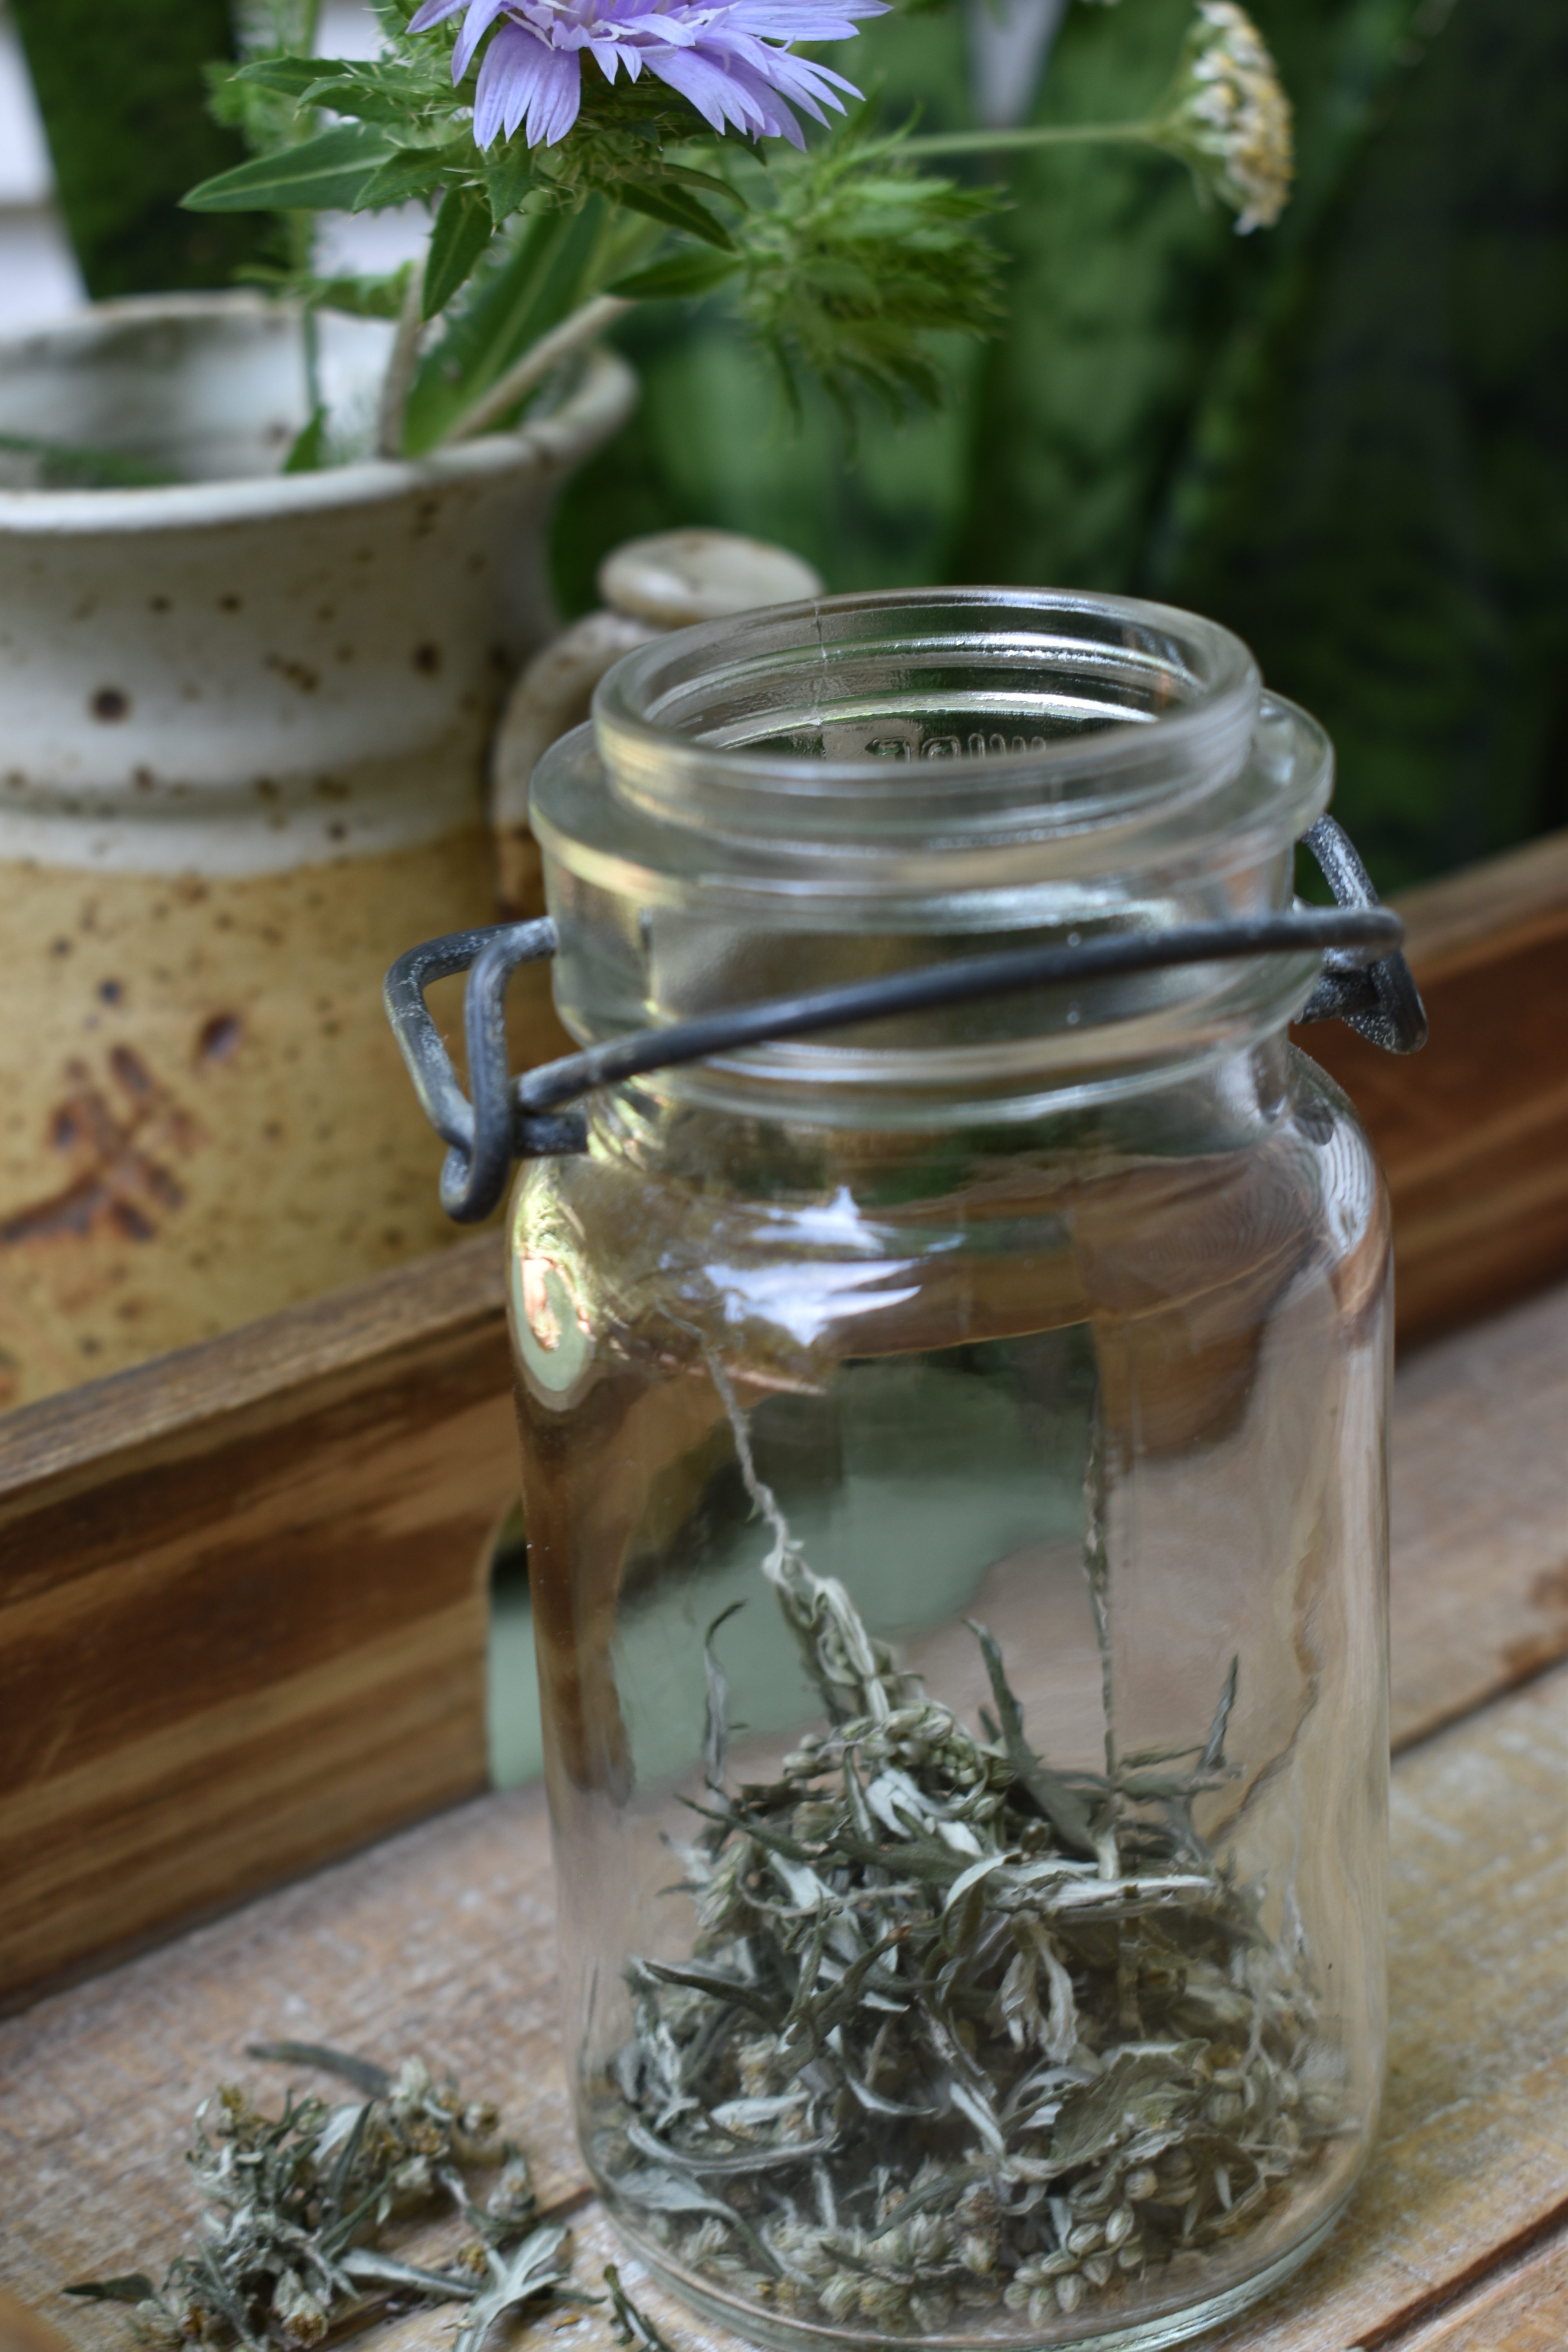
Glass canning jars
Clear glass canning jars are perfect for holding herbal brews and potions that need to be refrigerated because you can see if anything starts to go bad. The amber glass canning jars are great for making herbal extracts and storing dried herbs. I most often reach for the 16oz and 32oz size, and I prefer wide-mouth jars for ease of cleaning and pouring. The reusable plastic lids are much better than the metal lids and bands that come standard. The metal tends to rust over time when exposed to herbal preparations.
Amber bottles
For storing your finished herbal extracts, amber glass bottles are a must. Boston rounds are the most common, but sometimes you can also find square ones. The amber color helps block out light that degrades the potency of the extracts over time. I also keep Nalgene bottles on hand for traveling and for use in my first aid kits. These are the same types of bottles used in chemistry labs, so you don’t need to worry about the plastic leaching into your extracts. Knowing that the bottles can take a fair amount of accidental dropping and being tossed around in a bag or box is nice for peace of mind.
Small funnel
A small funnel is useful for pouring your finished homemade extracts into bottles. Remember that amber glass bottles typically have a small mouth, and find a suitable funnel. I have a large canning funnel with strainer that I love. The removable strainer makes it much easier to work with!
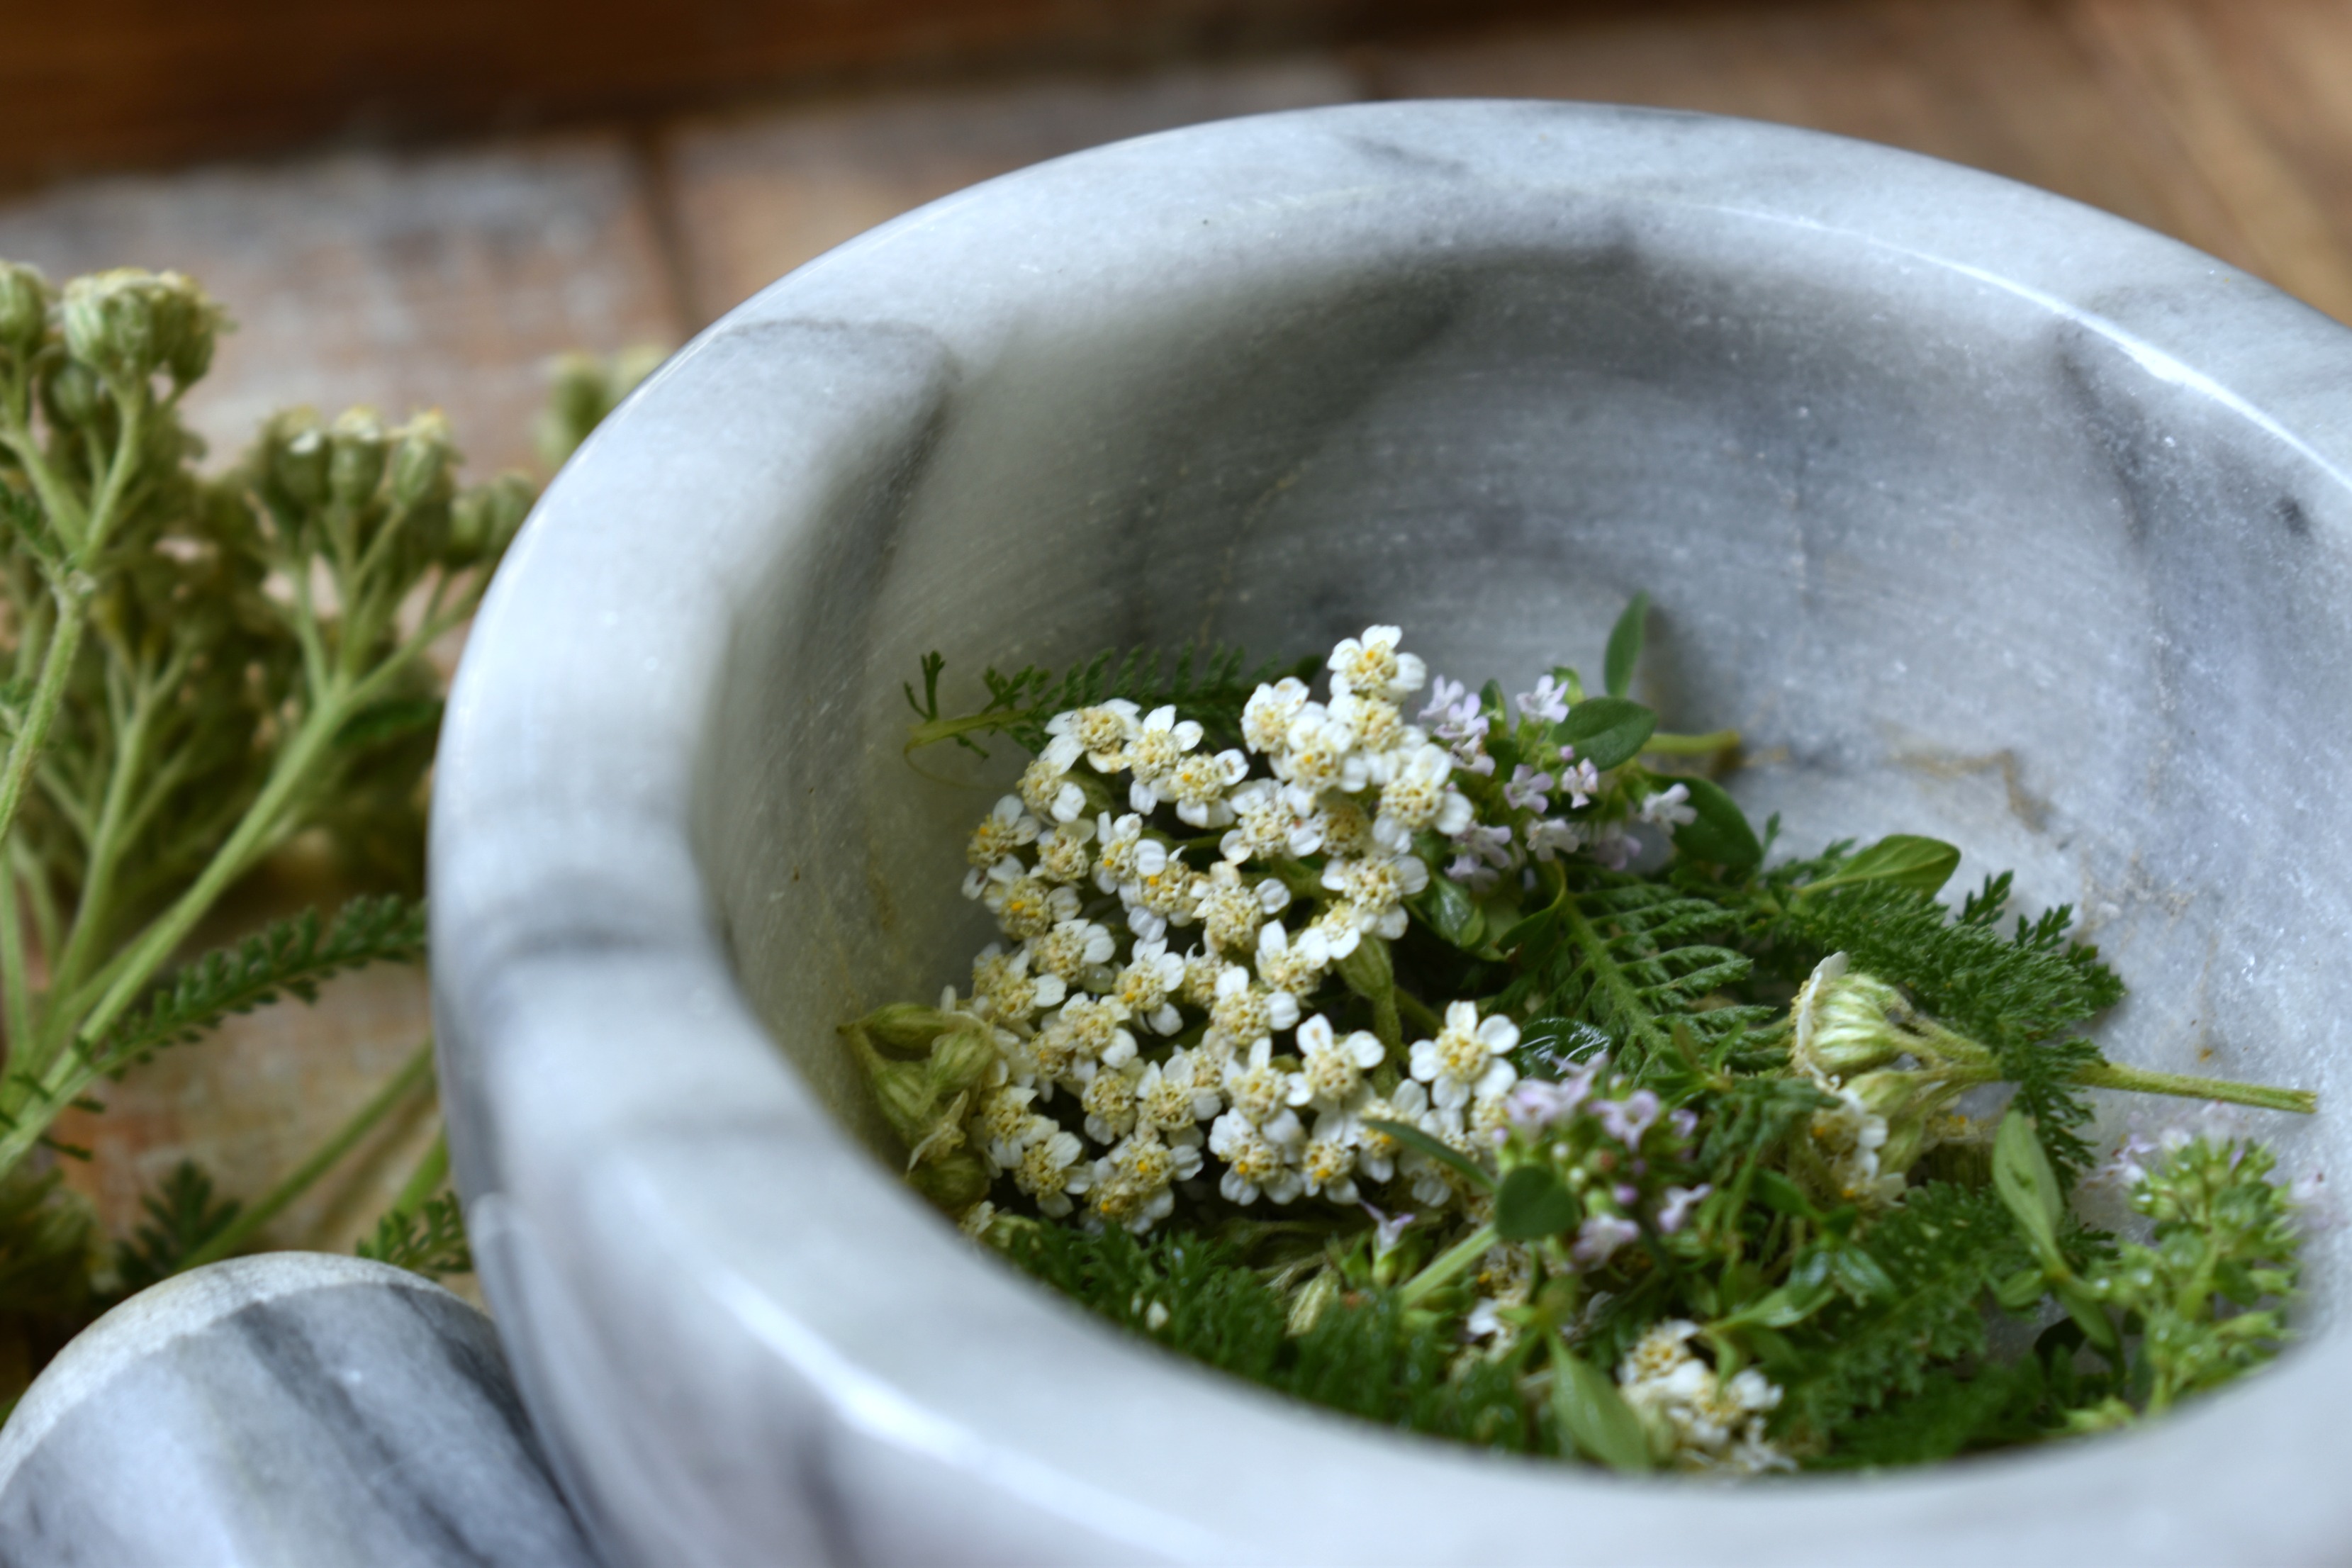
Home Apothecary Herbs
Of course, you will need some herbs to get started! There are two ways to select herbs that I think are particularly helpful for new home herbalists. One way is to start with your interests. If you have a few herbs that you have been reading about and think would be a good fit for your needs, start there. Once you have purchased your herbs you can begin working with them and then gradually branch out to other herbs.
The other way is recipe based. So, if you find two or three herbal recipes that you are really interested in trying, simply make a list of all of the ingredients and start there. Order more than you need for the recipes, and you will have instantly stocked your home apothecary with several herbs. Most herbs have several different uses, so you can spend some time exploring each of the herbs individually.
My Top Herbs
That being said, here are the top ten herbs I love having on hand in my own home apothecary. These are versatile and make a great place to start if you want a list of suggestions.
- Nettles
- Calendula
- Tulsi
- Mugwort
- Eleuthero
- Elecampane
- Plantain
- Elderflower
- Passionflower
- Valerian
The best thing about many of the herbs on this list is they are “everyday herbs” and can be used safely by most people on a regular basis. Nettles, calendula, and plantain are gentle nutritive herbs with an additional range of more specific applications. Eleuthero and tulsi are adaptogens. Elecampane is a digestive bitter as well as a lung tonic. You’ll be impressed by the depth to these herbs if you take the time to study each one!
How much do you need?
Usually, three or four ounces of an herb is a perfect size for building a home apothecary. That’s more than enough to make a few recipes and still have some left over for when other needs arise. Herbs will gradually lose potency over time, so it’s better to order on the conservative side until you have a better idea of how much you typically use within six months to a year.
Home Apothecary Ingredients
Most herbal projects at home will call for a few basic ingredients. Generally, this will include the herbs themselves plus home herbalist staples like honey or glycerin, vodka or brandy, and apple cider vinegar. There’s a lot you can do with only herbs and water, but these other ingredients expand your possibilities.
Honey or Glycerin
Honey and glycerin are often used in herbal recipes like syrups, elixirs, oxymels, and electuaries. Glycerin- based extracts, or glycerites, can be used as an alternative to herbal extracts made with alcohol, although they tend to be more expensive to make and less potent than alcohol extracts. Personally, I prefer a good water infusion (tisane or decoction, aka tea) to glycerites. Unless, however, I am making a glycerite with a highly aromatic fresh plant like lemon balm, monarda, or albizia. Glycerites made with fresh, aromatic herbs are dreamy and not to be missed!
Vinegar
Apple cider vinegar is a staple in most home apothecaries. It can be used to make an alcohol free extract. Like glycerin, these vinegar extracts (also known as aceta) are not typically as potent as an alcohol extract. Vinegar is also the key ingredient in tonic vinegars, oxymels, and herbal drinking vinegars. Apple cider vinegar isn’t the only type of vinegar that can be used, but it does tend to be one of the most popular.
Vodka and/or Brandy
An alcohol like vodka or brandy is typically used to make herbal extracts (also known as tinctures). I usually use vodka, because it is cheap and makes a reliable extract when working with dried herbs. If you want to work with fresh herbs, you will need to use something stronger, like Everclear, so that your extracts don’t spoil. Vodka and brandy are the most common choices for herbal projects, but you can also experiment with herbal wines or incorporating other liquors to your elixirs for flavor.
Resources for Learning Herbalism
Investing in a quality education is really important as you set up a home apothecary. It’s possible to learn a lot through independent study. Just make sure to think carefully about the sources you use and the things you learning. Keep an eye out for inconsistencies and vague information and clarify through further study as needed.
If you are very lucky, you may be able to find an herbalist in your area that offers classes or workshops, but there are plenty of other fantastic resources that are available to home herbalists. They include magazines, books, and online courses so you can study herbalism at your own pace no matter where you live. Here are a few of my favorite resources:
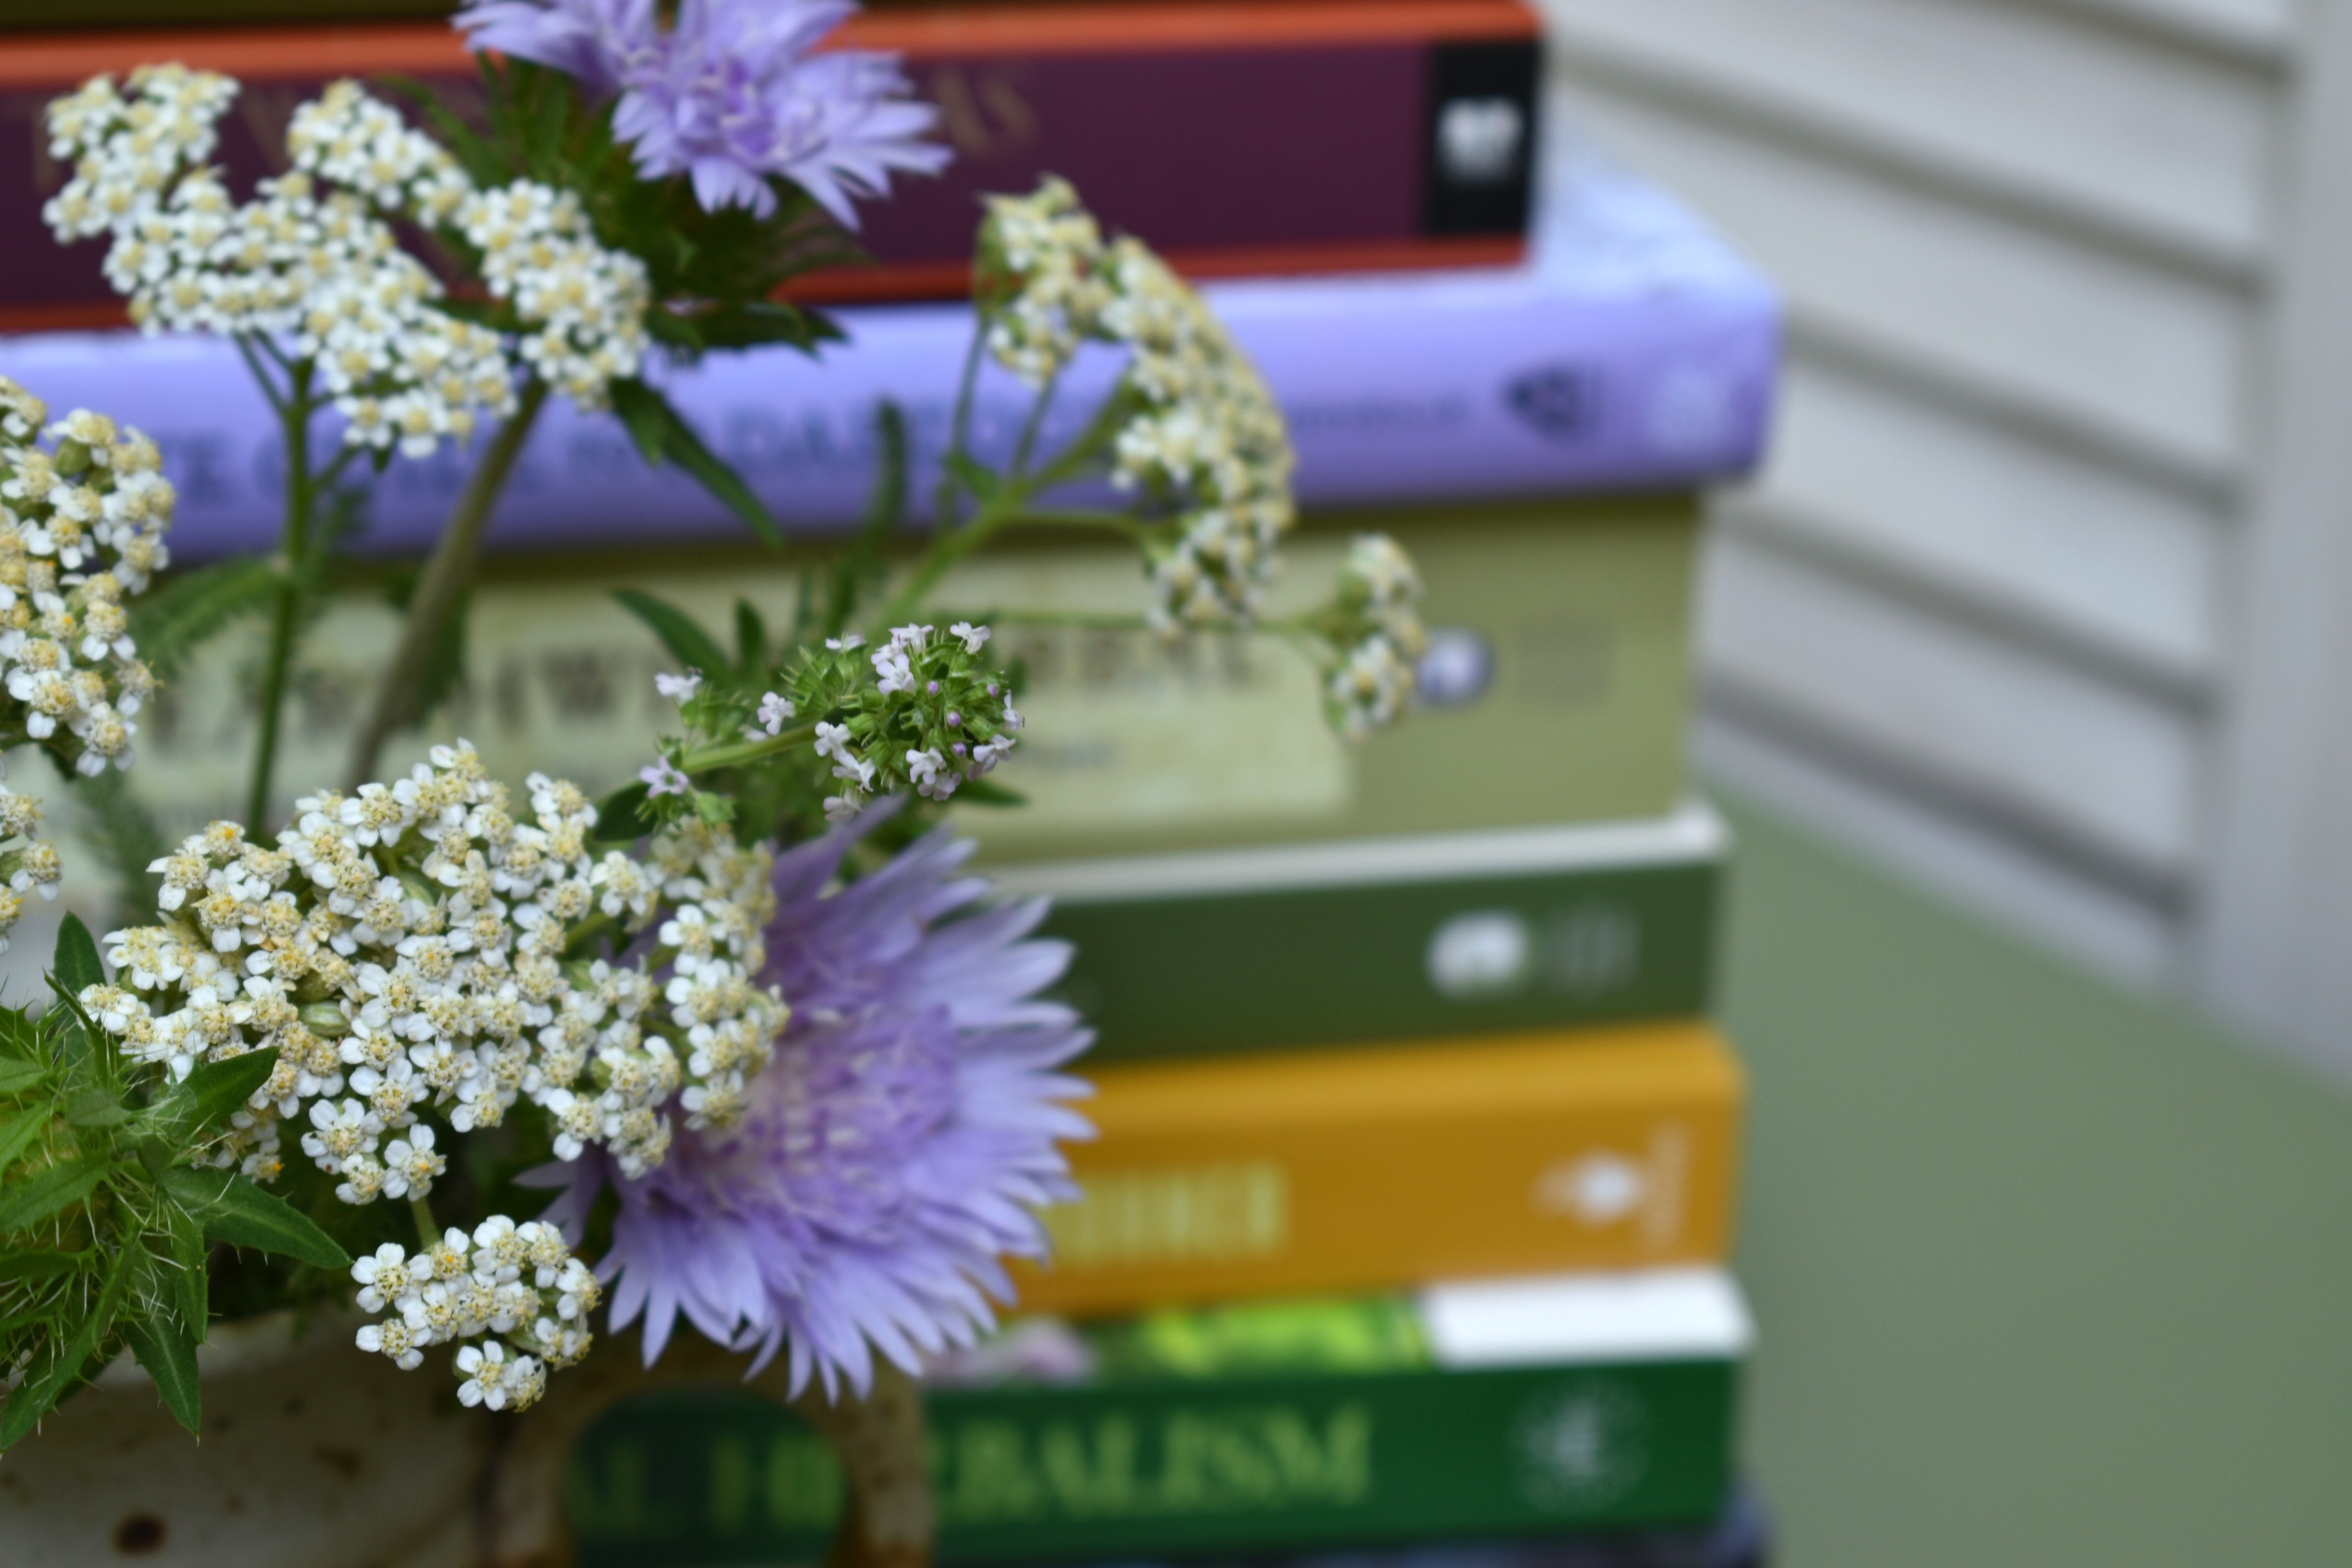
Books
Every home herbalist needs books! I can’t stress this enough. The more widely you read on herbalism and the more views you consider, the better. Try to find books by passionate herbalists whenever you can. There are quite a few herbal authors I particularly love:
- Rosemary Gladstarr
- Anne MckIntyre
- Maria Noel Groves
- Matthew Wood
- David Hoffman
- James Green
- Stephen Harrod Buhner
There are also several specific books that I highly recommend for new home herbalists. These are well organized books by knowledgeable authors and will help you learn a lot very quickly. A few titles to add to your list include:
- The Modern Herbal Dispensatory
- The Herbal Medicine Maker’s Handbook
- The Complete Herbal Tutor
- The Homesteader’s Herbal Companion
- The Herbal Handbook for Homesteaders
You can also check out what’s on my book shelf by reading my Ultimate Guide to Herbal Books article!
Herbalist Courses
I’ve worked with the Herbal Academy on some of their courses, and I’m truly impressed with the quality and depth of the online courses they offer. This is the type of herbal education I wish had been available when I was first learning herbalism 15 years ago!
The Introductory and Intermediate Courses are perfect for home herbalists and will be invaluable if you are setting up a home apothecary. The lessons are well-organized, beautifully presented, and packed full of information and recipes to help you learn to navigate herbalism with confidence.
Starting Your Home Apothecary
Being your own herbalist is a satisfying process and setting up a home apothecary makes sure you have the tools and supplies you need. I think that keeping a home apothecary is one of the best parts of being an herbalist! It allows you to develop a nuanced, tailored approach to self-care. Take your time, enjoy the journey, and the path of a home herbalist will continually delight, surprise, and humble you with the many gifts healing plants offer to us.
About Agatha
Thanks for stopping by to read the blog! I’m an herbalist and author from Atlanta, Georgia. My popular cook book is full of creative ideas for supporting wellness with herbs, and it’s available from Amazon, Barnes and Noble, or by request at your favorite book shop! You can learn more about me here, and follow along on Instagram, Pinterest or Facebook.